The Ultimate Guide to Lacquering Wooden Floors: Best Practices and Tips
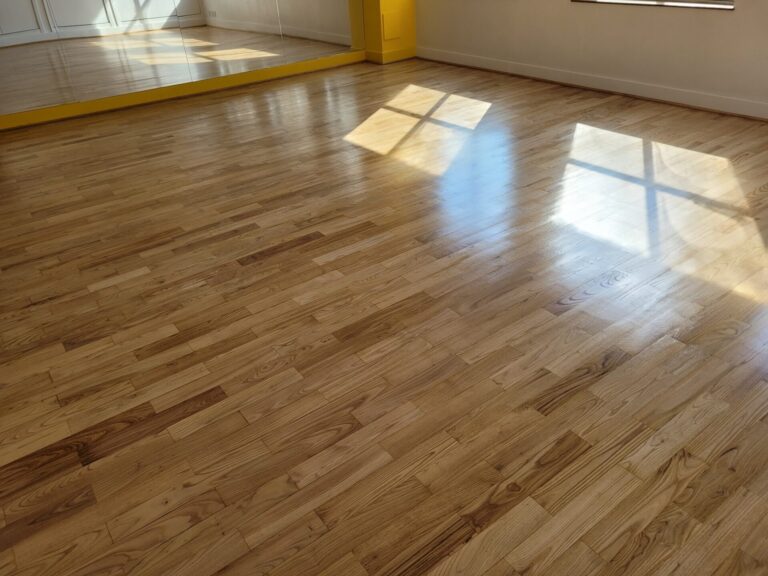
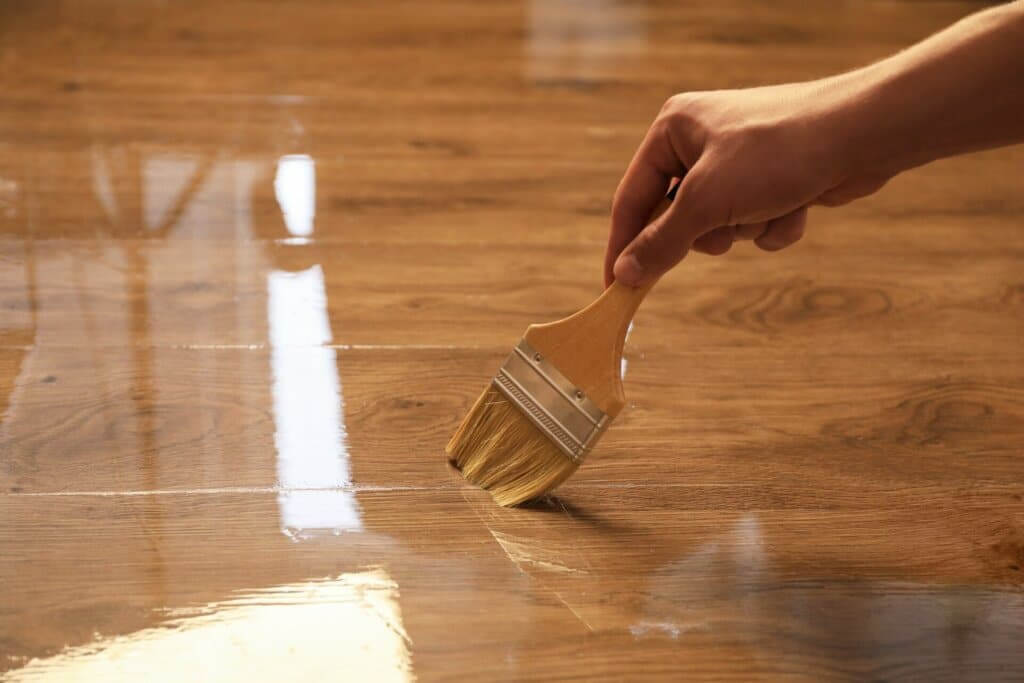
Lacquering wooden floors is more than just a protective measure; it’s an art form that transforms your living space. Imagine walking into a room where the floors gleam with a deep, rich shine, reflecting light and warmth. This isn’t just about aesthetics—it’s about creating an atmosphere that feels inviting and luxurious. At the heart of this transformation is the lacquer, a magical substance that not only protects but also enhances the natural beauty of the wood.
In the world of flooring, a smooth, flawless finish is the gold standard. It’s what sets a professionally lacquered floor apart from the rest. A well-lacquered floor not only looks stunning but also feels amazing underfoot. It’s the kind of detail that can elevate the entire look of your home, adding value and sophistication. But achieving this perfection requires more than just a steady hand; it demands an understanding of the materials, the techniques, and the common pitfalls to avoid.
Why is a smooth finish so crucial? It’s simple: a smooth finish not only enhances the appearance of your wooden floors but also extends their lifespan. The lacquer acts as a barrier, protecting the wood from scratches, moisture, and daily wear and tear. This is especially important in high-traffic areas where your floors are constantly under pressure. A well-applied lacquer will keep your floors looking pristine for years to come, making your investment worthwhile.
As we delve into the best practices for lacquering wooden floors, we’ll explore everything from selecting the right type of lacquer to mastering the application process. Whether you’re a DIY enthusiast or considering professional help, this guide will equip you with the knowledge to achieve a flawless finish. So, let’s embark on this journey to uncover the secrets of lacquering and ensure your floors exude the magic and warmth they truly deserve.

Understanding Lacquers: Types and Choices
Choosing the right lacquer for your wooden floors can feel like navigating a maze of options. Yet, making the correct choice is crucial for achieving that coveted smooth finish. The two primary types of lacquer you’ll encounter are water-based and oil-based, each with its unique characteristics and benefits.

Water-Based Lacquers
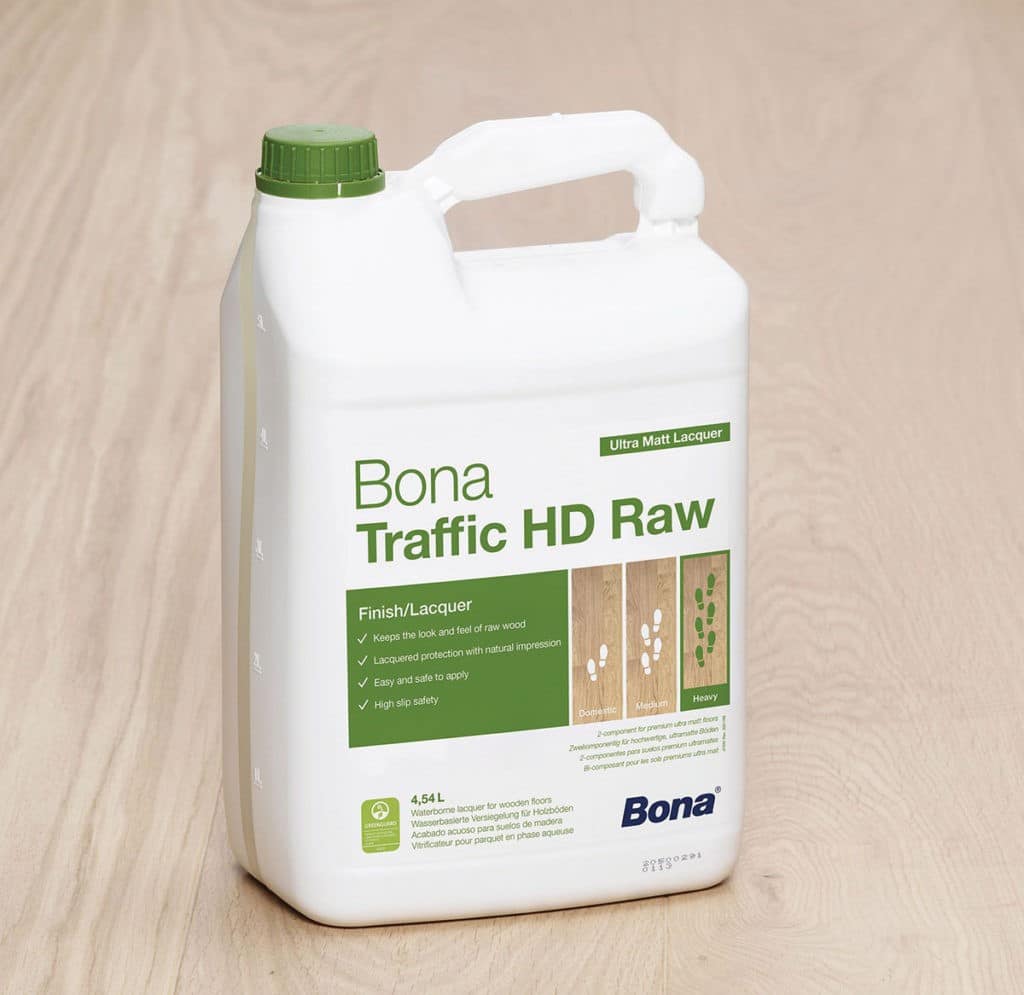
Water-based lacquers are increasingly popular, and for good reason. They offer a clear, non-yellowing finish that enhances the natural beauty of the wood without altering its colour. This makes them an excellent choice if you want to maintain the original look of your floors. Moreover, they dry quickly, which is a blessing for busy households—less downtime means you can enjoy your beautifully lacquered floors sooner.
Environmentally conscious homeowners will also appreciate that water-based lacquers have low VOC (Volatile Organic Compounds) levels, making them a more eco-friendly option. They emit fewer harmful fumes, ensuring a safer environment for your family and pets. Plus, their easy cleanup with just soap and water makes them incredibly convenient for any DIY enthusiast.
Oil-Based Lacquers
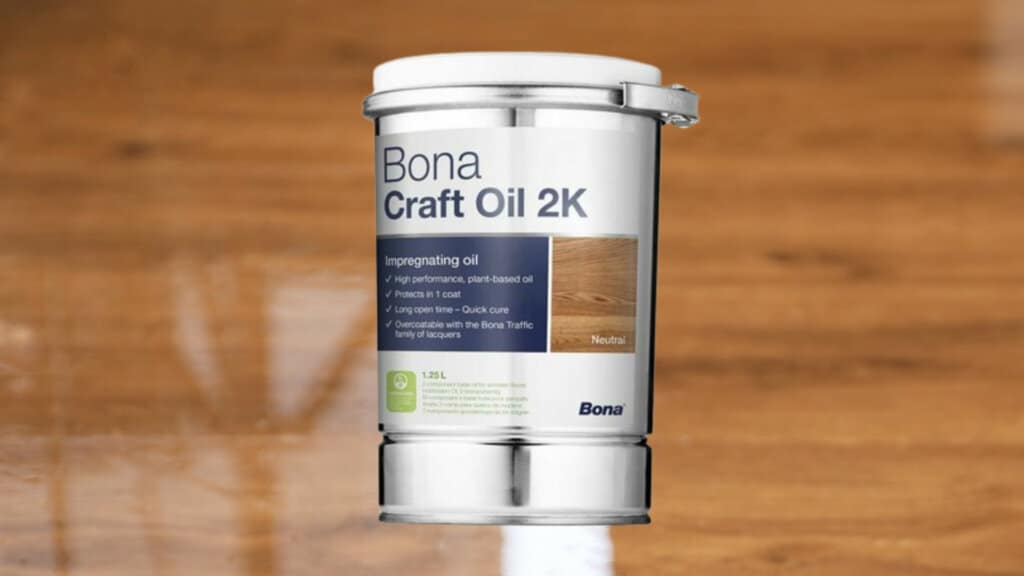
Oil-based lacquers, on the other hand, bring their own set of advantages. Known for their durability, they create a hard, resilient finish that stands up well to heavy foot traffic and everyday wear. This type of lacquer penetrates deeply into the wood, offering a rich, warm tone that can enhance the natural grain and give your floors a classic, timeless look.
One of the key benefits of oil-based lacquers is their longevity. While they may take longer to dry and cure, the resulting finish is often tougher and more resistant to scratches and scuffs. However, they do tend to yellow over time, which can be a desirable quality if you’re aiming for a vintage or rustic appearance.
Making the Right Choice
So, how do you decide which lacquer is best for your floors? Consider your priorities. If you’re looking for a quick turnaround and a clear finish that preserves the natural colour of the wood, water-based lacquer is your go-to. It’s also ideal for homes where indoor air quality is a concern. On the other hand, if durability and a rich, warm aesthetic are your main goals, oil-based lacquer will serve you well, especially in high-traffic areas like hallways and living rooms.
Ultimately, the choice of lacquer should align with your aesthetic preferences, lifestyle, and the specific needs of your wooden floors. Whether you opt for the crisp clarity of water-based or the robust warmth of oil-based, understanding these options empowers you to make an informed decision. This way, your floors won’t just look good; they’ll stand the test of time, adding lasting value to your home.
Preparing Your Wooden Floor for Lacquering
Before you can even think about applying lacquer on your wood floor, preparation is key. It’s a bit like painting a masterpiece: the quality of the final result depends largely on the groundwork laid beforehand. Skipping these crucial steps can lead to a less-than-perfect finish, so let’s delve into the essential preparations that will set the stage for a stunning, smooth floor.
Cleaning and Sanding the floor: The Essential First Steps
First things first, your floor needs to be spotless. Dust, dirt, and grime can wreak havoc on the lacquer, causing unsightly bumps and unevenness. Begin by thoroughly sweeping or vacuuming the floor to remove loose debris. Follow this with a damp mop to catch any lingering dust particles. Remember, cleanliness here is paramount; even the smallest speck can become glaringly obvious once the lacquer is applied.
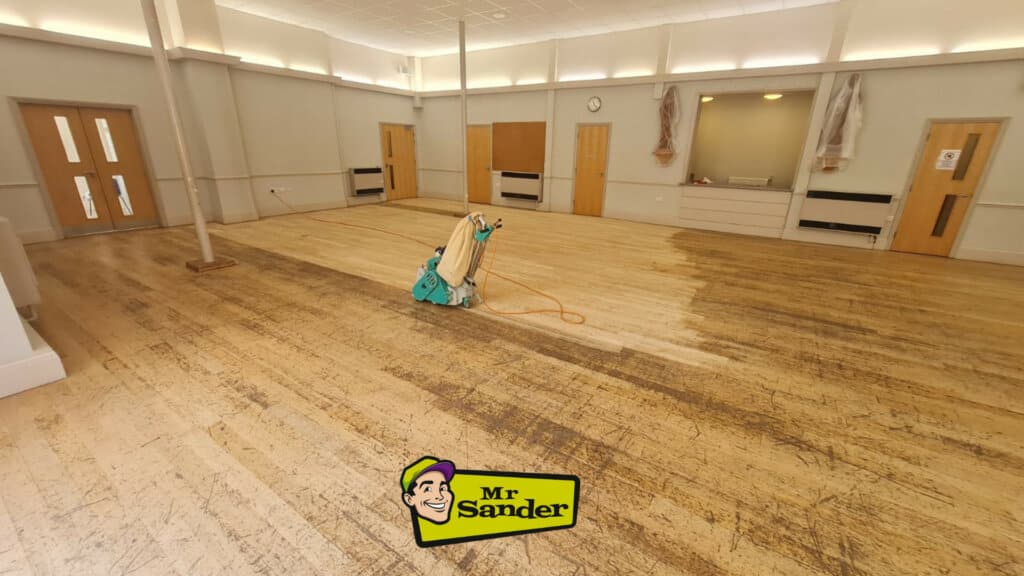
Next comes Floor sanding, arguably the most critical step in the preparation process. Sanding not only smooths out the surface but also helps the lacquer adhere better. Start with a coarse-grit sandpaper to remove old finishes and any rough patches. Gradually work your way up to finer grits for a silky-smooth surface. Be meticulous, ensuring you sand in the direction of the wood grain to avoid scratches and gouges. Once sanding is complete, vacuum the dust and wipe the floor with a tack cloth to ensure it’s completely clean.
Fixing Imperfections: Filling Gaps and Cracks
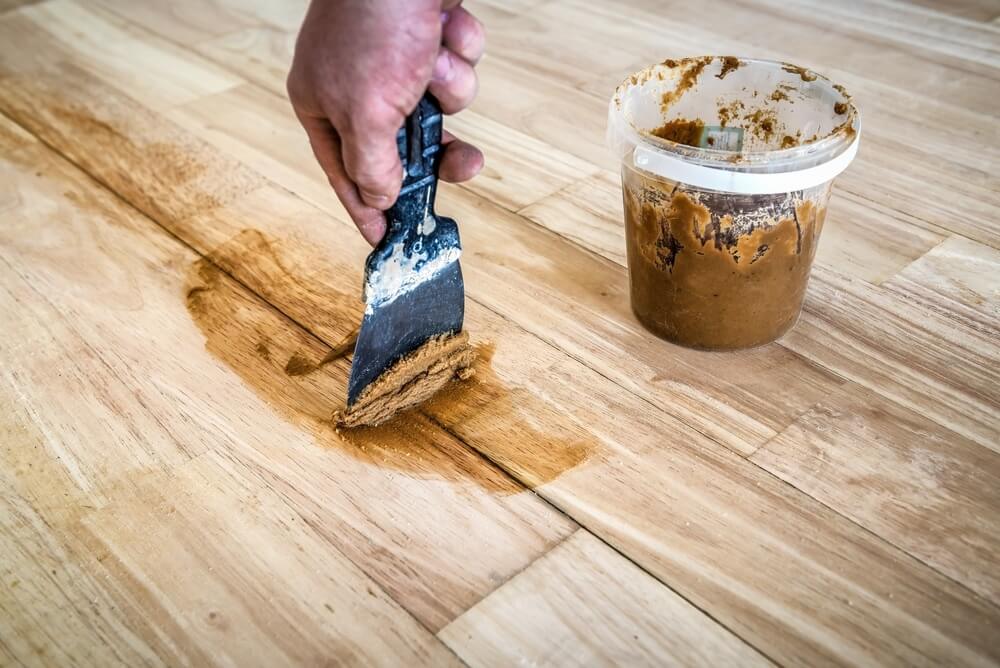
Even the most beautiful wooden floors can have imperfections, from tiny cracks to larger gaps between boards. These need to be addressed before lacquering. Use a high-quality wood filler that matches the colour of your floor. Apply it carefully, filling in any cracks, gaps, or holes. Smooth the filler with a putty knife and let it dry completely. After drying, sand the filled areas lightly to ensure they’re flush with the rest of the floor.
Taking the time to fix these imperfections not only improves the appearance of your floor but also enhances its durability. Properly filled gaps prevent moisture from seeping in, which can cause the wood to warp or rot over time.
Ensuring a Dust-Free Environment
Dust is the enemy of a flawless lacquer finish. Once your floor is clean and smooth, you need to ensure the environment is dust-free before you start lacquering. Close windows and doors to prevent dust from drifting in. If you’re working in a particularly dusty area, consider using plastic sheeting to section off the space and create a clean zone.
Also, pay attention to your tools and clothing. Use a clean brush or roller, and avoid wearing clothes that might shed fibres. A quick wipe-down of all surfaces, including skirting boards and window sills, can also help minimise the risk of dust settling on your freshly lacquered floor.
By meticulously preparing your floor, you’re laying the foundation for a flawless lacquer finish. This preparatory work might seem tedious, but it’s an investment in achieving the best possible result. With a clean, smooth, and well-prepared surface, your lacquer application will not only look professional but also last longer, keeping your wooden floors looking beautiful for years to come.

Applying Wood floor Lacquer: Step-by-Step Guide
Now that your floor is prepped and ready, it’s time to get down to the main event: applying the lacquer. This is where the magic happens, transforming your wooden floors into a gleaming, polished masterpiece. But to achieve that perfect finish, you’ll need to follow a careful, step-by-step process. Let’s walk through it together, ensuring you have everything you need to make your floors shine.

Tools and Materials You’ll Need
Before you start, gather all the necessary tools and materials. A high-quality lacquer, of course, is your primary ingredient. But you’ll also need a good brush or roller, depending on the size of your area and your personal preference. Foam rollers are excellent for achieving a smooth finish without leaving brush marks, while a fine-bristle brush can be ideal for detailed edges and corners.
You’ll also need a paint tray, stir sticks, and painter’s tape to protect the edges of your room. If you’re working with oil-based lacquer, ensure you have appropriate solvents for cleaning up, and don’t forget protective gear—gloves and a mask are a must to safeguard against fumes.
Techniques for Even Application
Start by pouring the lacquer into the paint tray, filling it to a manageable level. Stir the lacquer thoroughly to ensure an even consistency, but avoid shaking the can as this can introduce air bubbles, which might mar your finish.
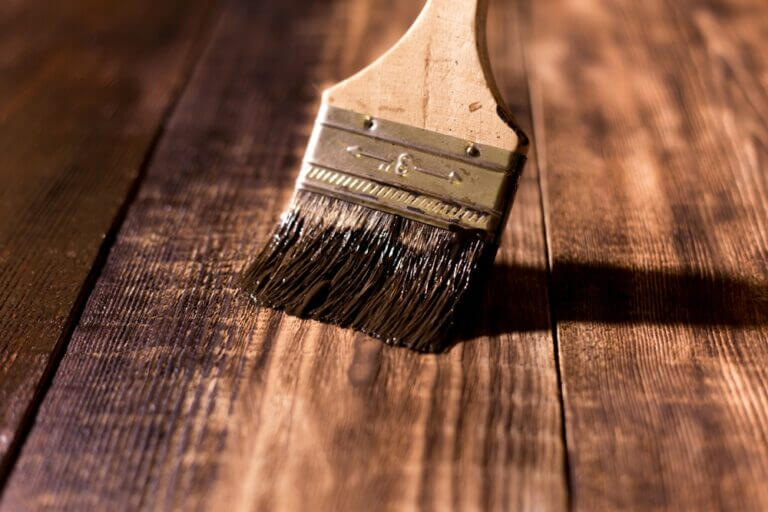
Begin applying the lacquer along the edges of the room with a brush, cutting in carefully. This technique ensures you reach all the nooks and crannies that a roller might miss. Once the edges are done, move on to the main surface area.
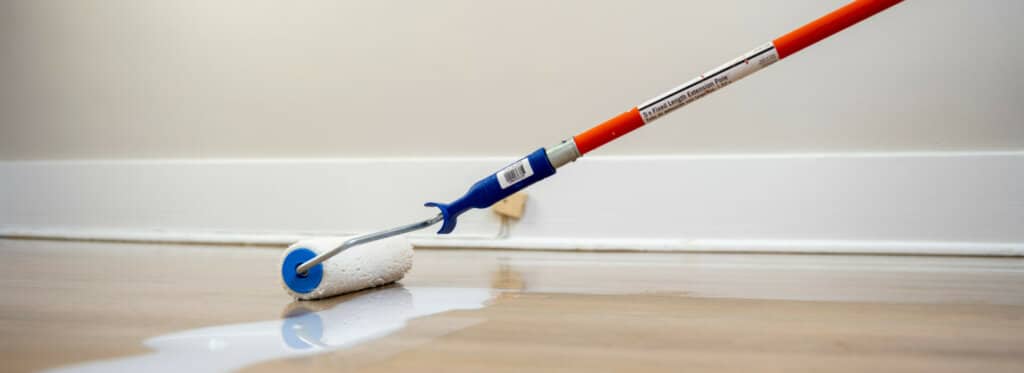
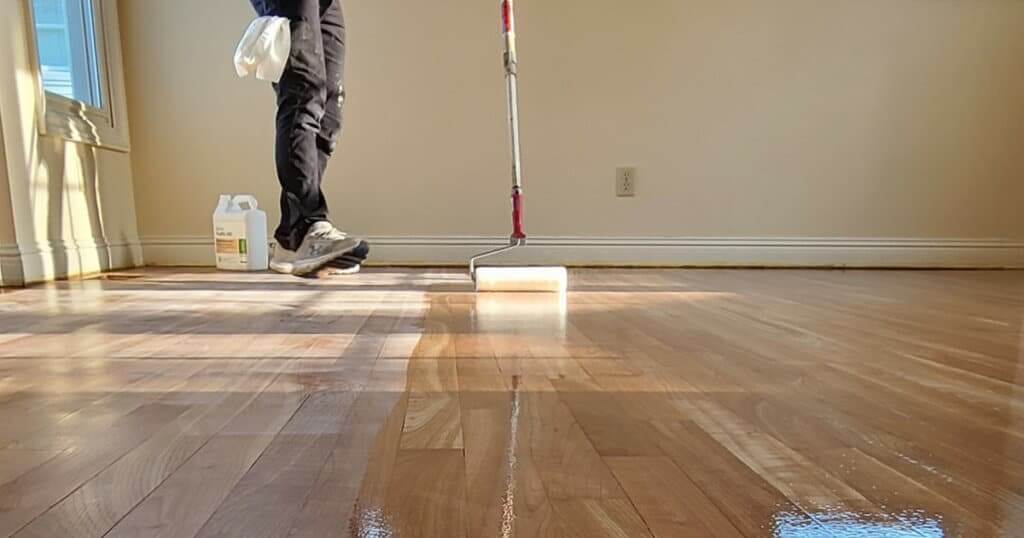
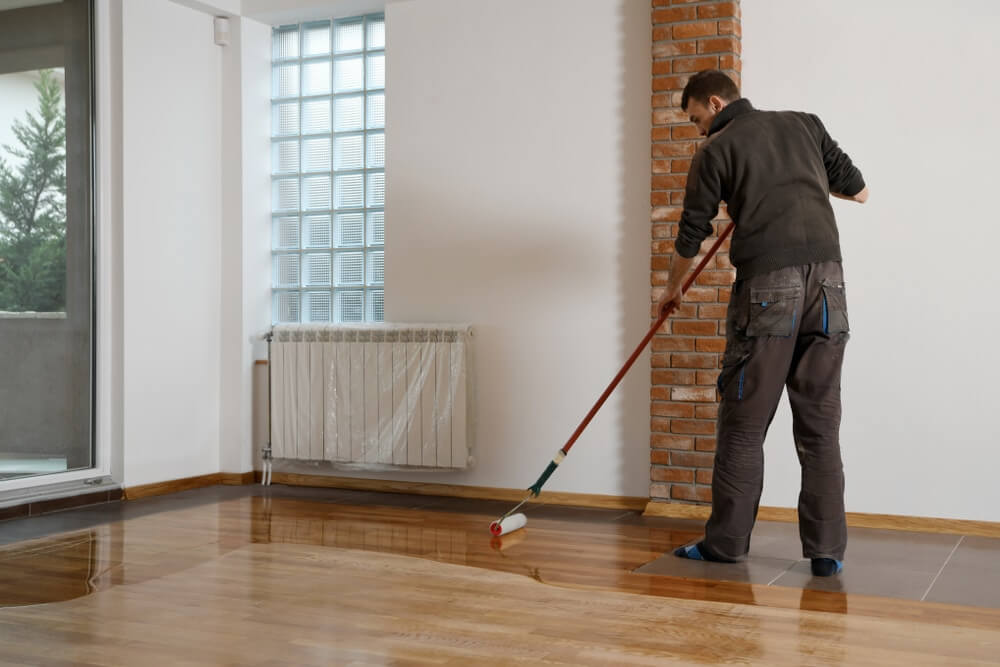
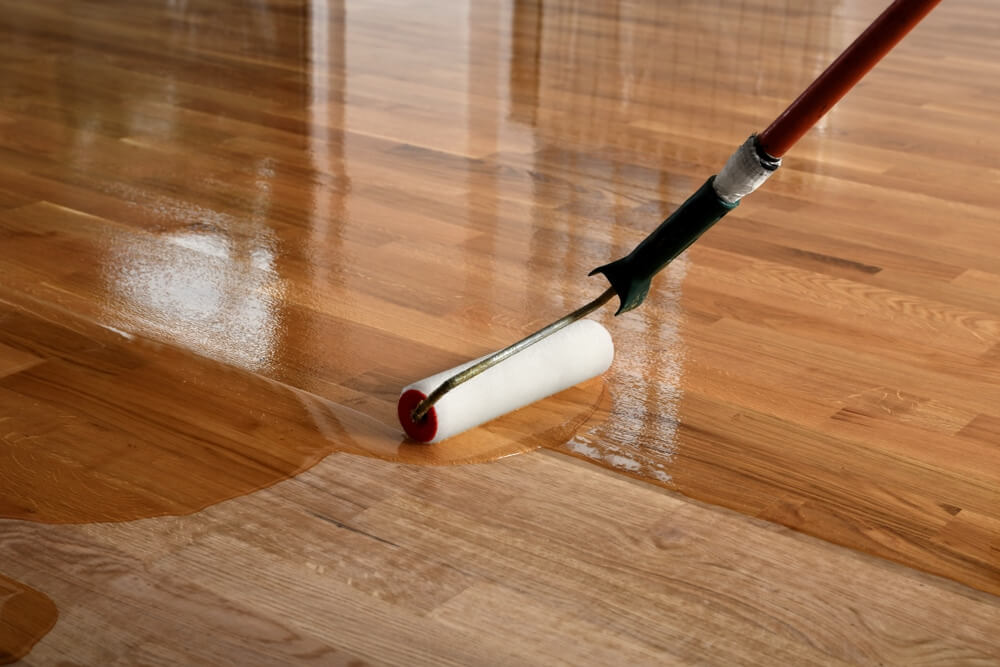
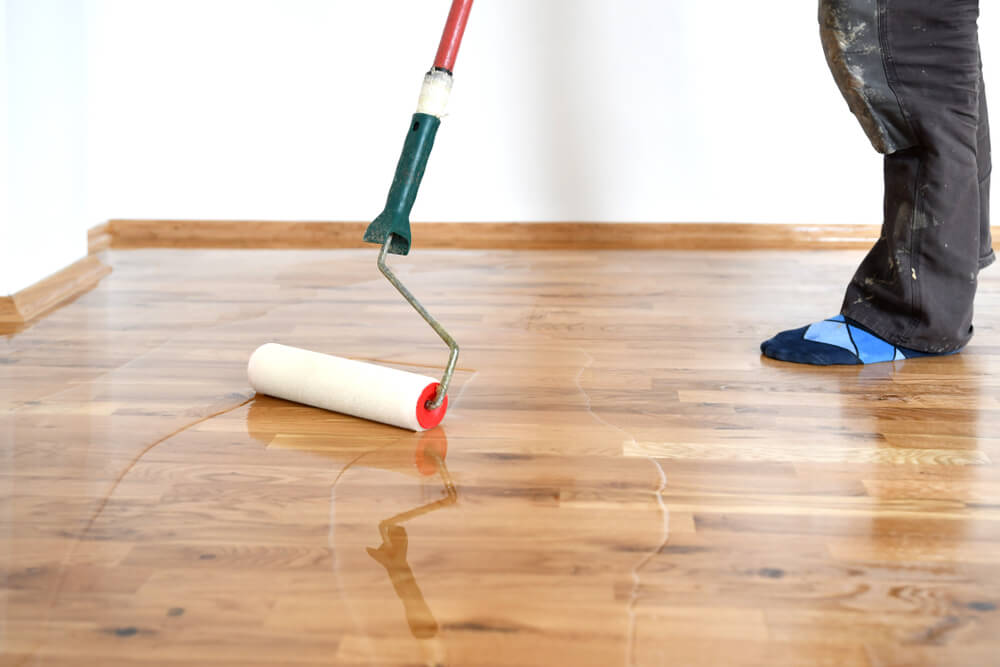
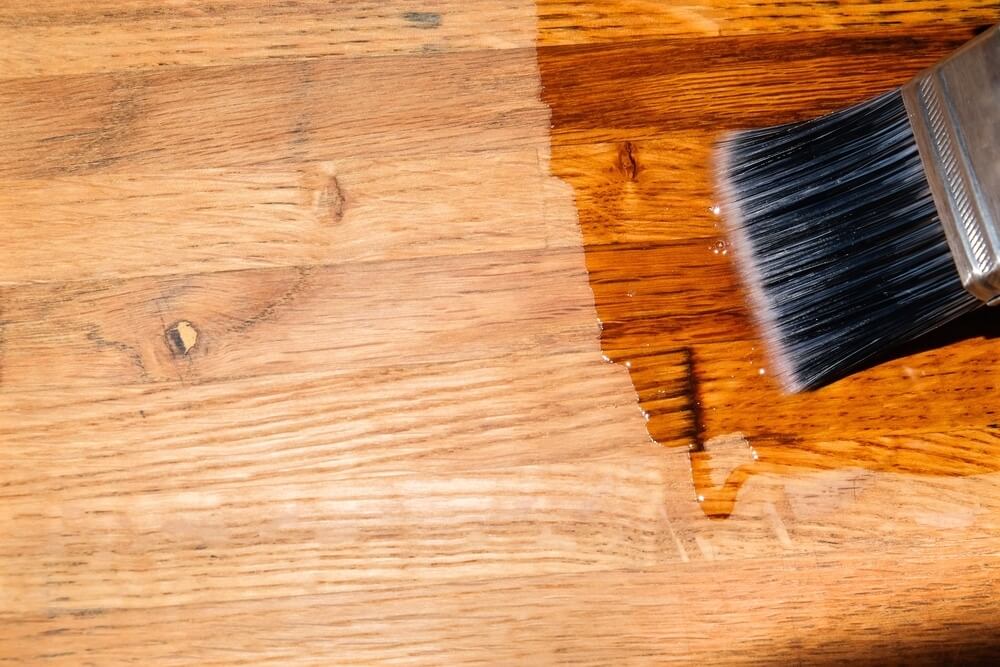
Using your roller, apply the lacquer in long, even strokes, following the grain of the wood. This helps in achieving a consistent finish and prevents streaking. Apply the lacquer in thin, even coats, as thick layers can lead to drips and an uneven surface. Take your time and work methodically, maintaining a wet edge to avoid lap marks.
Drying Times and Multiple Coats
Patience is crucial when it comes to lacquering. Allow ample time for each coat to dry completely before applying the next. Drying times can vary depending on the type of lacquer and the ambient conditions in your home, such as temperature and humidity. Water-based lacquers typically dry faster, often within a few hours, while oil-based lacquers may require a longer drying period.
After the first coat has dried, lightly sand the surface with a fine-grit sandpaper. This step is essential for ensuring a smooth finish and helping the next coat adhere properly. Be gentle; you’re not looking to remove the lacquer, just to smooth out any imperfections.
Once sanded, clean the floor thoroughly to remove any dust. Then, apply a second coat of lacquer, following the same careful process. Depending on the desired level of gloss and the type of lacquer you’re using, you may need to apply additional coats. Typically, two to three coats are sufficient for a durable, high-quality finish.
Finishing Up
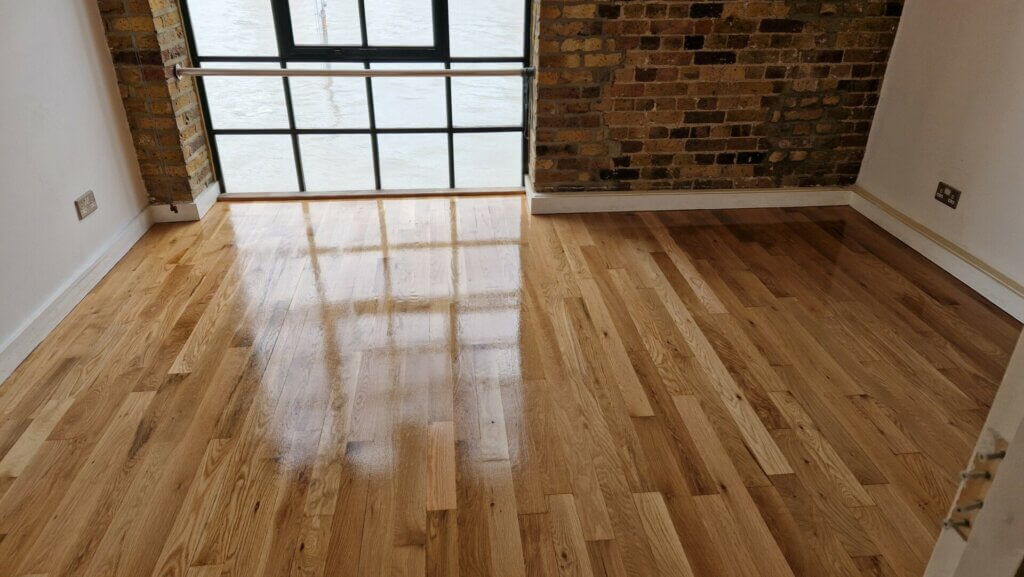
After applying the final coat, allow the lacquer to cure completely. This could take a few days, during which you should avoid walking on the floor or placing any furniture back in the room. Once fully cured, your floor will have a beautiful, durable finish that not only looks fantastic but also protects the wood beneath.
By following these steps, you’ll achieve a professional-quality lacquer finish that enhances the natural beauty of your wooden floors. With the right tools, techniques, and a bit of patience, you can transform your floors into a stunning feature of your home, adding warmth and elegance to any room.
Common Mistakes to Avoid When Lacquering
Lacquering wooden floors can elevate your home’s aesthetic and add a layer of protection to your floors. However, it’s a process fraught with potential pitfalls. Even a minor misstep can lead to unsightly results or even damage the wood. To ensure your lacquering project is a resounding success, it’s crucial to be aware of common mistakes and how to avoid them. Let’s explore some of the most frequent errors and how to steer clear of them.
Over-Application and Drips
One of the most common mistakes when applying lacquer is using too much product at once. It might be tempting to lay it on thick, thinking it will provide better protection or achieve a more robust finish. However, this often leads to drips, streaks, and a finish that takes much longer to dry and cure. The key is to apply thin, even coats. This not only prevents drips but also allows the lacquer to dry more evenly and quickly. If you do notice any drips or runs, address them immediately by smoothing them out with your brush or roller before they dry.
Skipping Sanding Between Coats
Sanding between coats might seem like an unnecessary step, especially if the surface looks smooth. However, skipping this step can result in a less-than-perfect finish. Lightly sanding between coats helps to remove any imperfections, such as dust particles or bubbles, that may have settled on the surface. It also provides a slightly rough surface for the next coat to adhere to, ensuring a stronger bond. Remember, you’re not sanding to remove the lacquer but to smooth it out, so use fine-grit sandpaper and a gentle touch.
Not Allowing Proper Curing Time
Patience is a virtue, particularly when lacquering wooden floors. One of the biggest mistakes you can make is rushing the process, especially when it comes to curing time. Each coat of lacquer needs ample time to dry before the next one is applied, and the final coat requires a full curing period. This can vary depending on the type of lacquer used—water-based lacquers cure faster, while oil-based options may take several days.
Avoid walking on the floor or placing furniture back too soon, as this can lead to smudges, indentations, or even damage to the lacquer. Follow the manufacturer’s recommended curing times closely, and if in doubt, err on the side of caution. Allowing the lacquer to cure fully ensures a durable, hard-wearing finish that will stand the test of time.
Ignoring Environmental Conditions
Environmental factors play a significant role in the lacquering process. Temperature and humidity levels can affect drying and curing times, as well as the quality of the finish. Ideally, you should work in a space that is warm and dry, with good ventilation. High humidity can slow down the drying process and lead to a cloudy finish, while too much heat can cause the lacquer to dry too quickly, resulting in an uneven surface.
To maintain optimal conditions, consider using fans or dehumidifiers to regulate the environment. Additionally, always check the weather forecast if you’re working in a space with open windows or doors to avoid dust and debris from blowing in.
Overlooking Safety Precautions
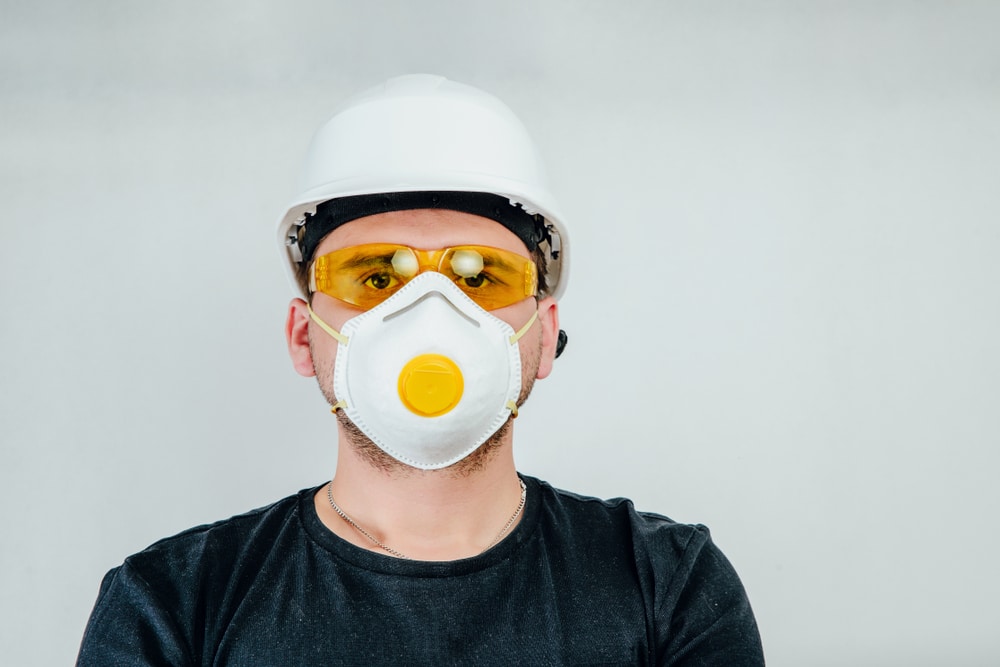
Safety should always be a priority when working with lacquers, particularly oil-based ones that emit strong fumes. Failing to take proper precautions can lead to health risks. Always work in a well-ventilated area and wear protective gear, such as gloves and a mask. If possible, use a respirator to protect against harmful vapours. Also, keep the area free of open flames or sparks, as some lacquers are flammable.
By being mindful of these common mistakes, you can ensure a smooth, professional-looking lacquer finish on your wooden floors. It’s all about preparation, patience, and attention to detail. Avoiding these pitfalls will not only save you time and effort but also enhance the beauty and longevity of your floors. After all, a job well done is a reflection of your home and your care for it.
Maintaining Your Lacquered Wooden Floor
Once you’ve achieved that perfect lacquer finish, your work isn’t over. Maintaining your lacquered wooden floor is essential to keep it looking beautiful and ensure its longevity. A well-maintained floor not only enhances the aesthetic appeal of your home but also protects your investment. Let’s explore the best practices for keeping your lacquered floor in top condition.
Daily Care Tips: Cleaning and Maintenance
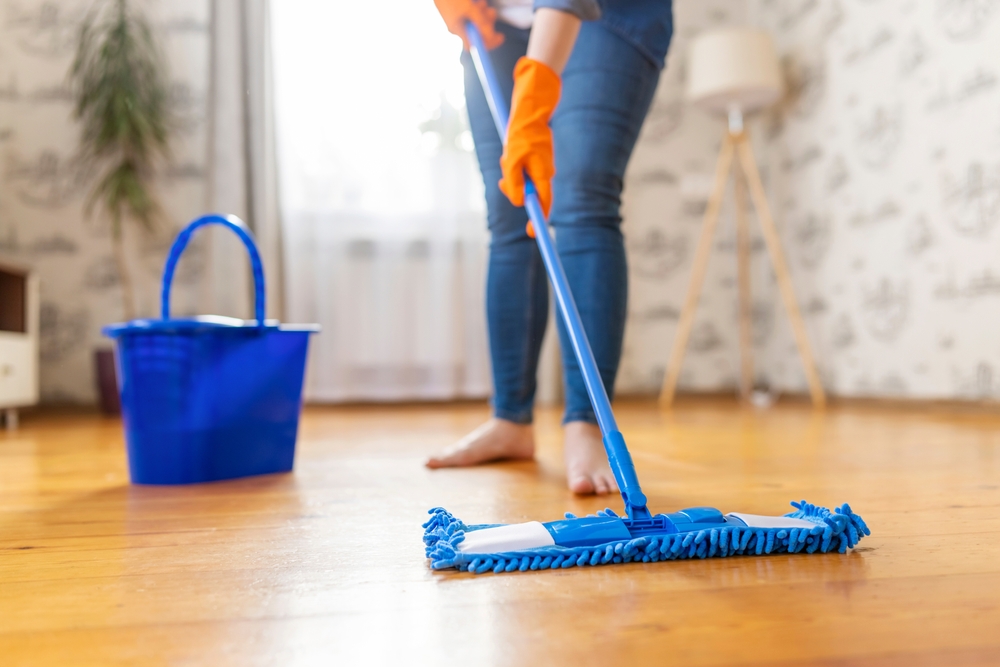
The first rule of thumb for maintaining your lacquered floor is to keep it clean. Dust and dirt can act like sandpaper, scratching the surface and dulling the shine over time. Regularly sweep or vacuum your floor to remove these particles. When vacuuming, use a soft brush attachment to avoid scratching the lacquer.
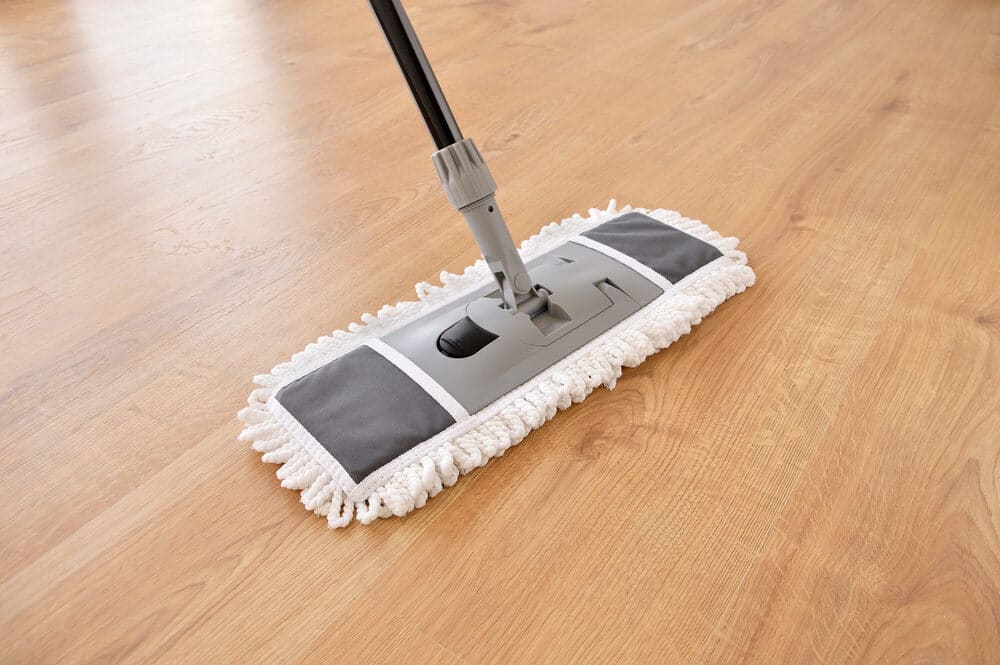
For deeper cleaning, use a damp mop with a gentle, pH-neutral cleaner specifically designed for wooden floors. Avoid using excessive water, as standing moisture can seep into the wood and cause damage. Always wring out the mop thoroughly before use. Remember, less is more when it comes to water and wooden floors. Avoid harsh chemicals, abrasive cleaners, or steam mops, as they can strip the lacquer and harm the wood.
Long-Term Protection: Avoiding Scratches and Wear
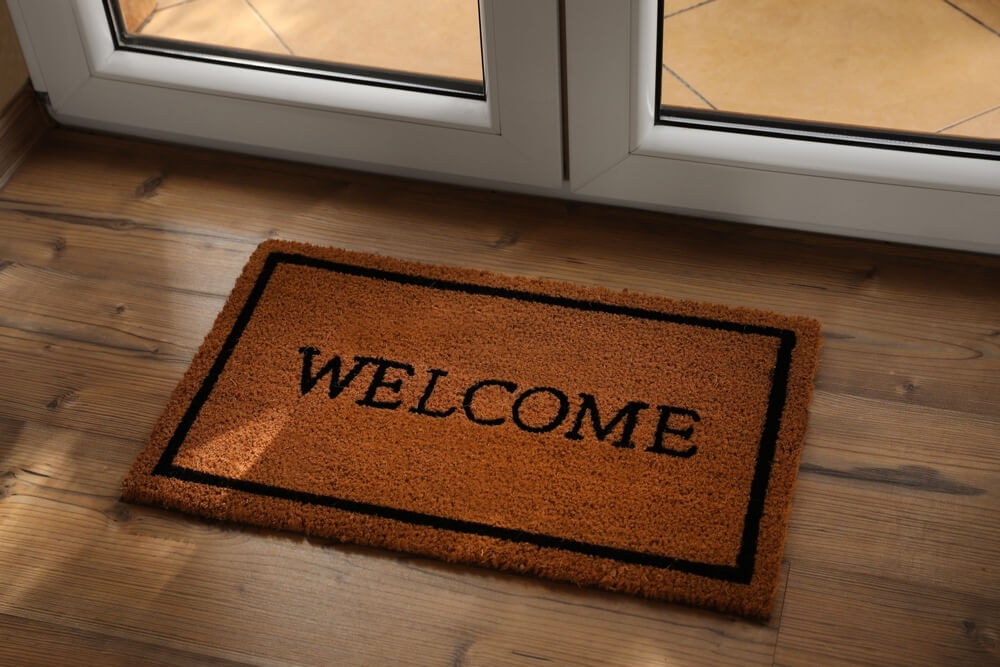
To protect your lacquered floor from scratches and wear, consider placing rugs or mats in high-traffic areas, such as entrances, hallways, and in front of sinks. These areas are prone to more dirt and moisture, which can damage the lacquer over time. Choose mats with non-slip, breathable backings to prevent trapping moisture underneath.
Furniture can also be a culprit when it comes to scratches. Use felt pads or furniture coasters under the legs of chairs, tables, and other heavy items. This simple step can prevent gouges and scuffs when moving furniture around. For larger pieces, consider using protective sliders when moving them to avoid dragging across the floor.
Shoes, especially high heels and shoes with hard soles, can also cause damage. Encourage a no-shoes policy indoors or provide a designated area for shoes near the entrance. If you have pets, keep their nails trimmed to minimise scratches on the floor.
When to Reapply: Signs Your Floor Needs a Refresh
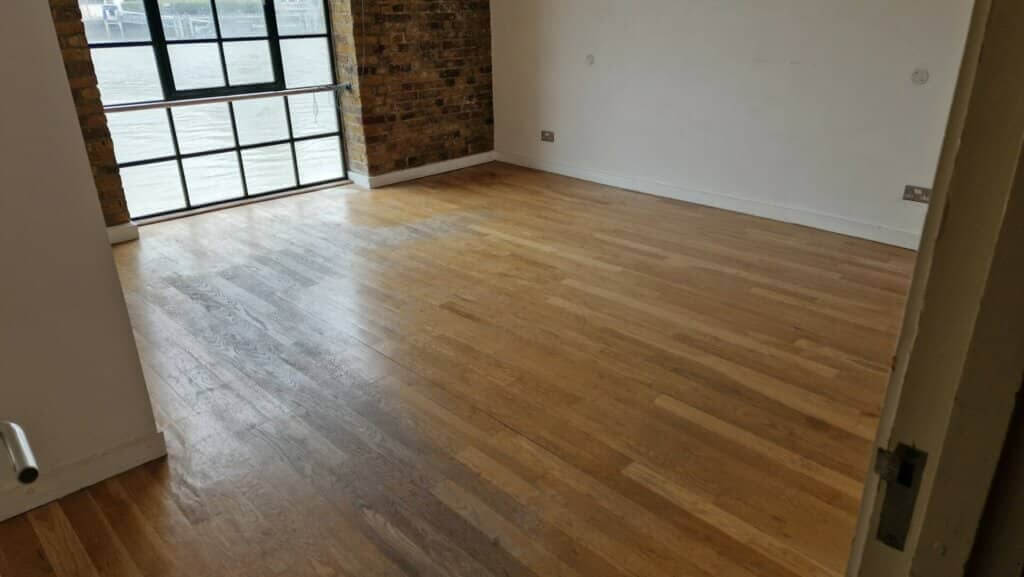
Even with the best care, lacquered floors will eventually show signs of wear. Over time, the lacquer may dull, or small scratches and scuffs may appear. It’s important to know when it’s time to refresh the finish to keep your floor looking its best.
Signs that your floor needs a new coat of lacquer include noticeable dullness, worn areas where the lacquer has thinned, or visible scratches that can’t be buffed out. The frequency of reapplication depends on the amount of foot traffic your floor receives. High-traffic areas may need refreshing every few years, while less-used areas might last much longer.
When the time comes to reapply, ensure the floor is thoroughly cleaned and lightly sanded to remove any surface imperfections. This preparation allows the new coat of lacquer to adhere properly and achieve a smooth finish. If you’re unsure about the process, consulting a professional can ensure the job is done correctly, preserving the integrity of your floors.
Lacquering vs. Other Finishes
Choosing the right finish for your wooden floor is a decision that can dramatically impact the look, feel, and longevity of your space. While lacquering is a popular choice, it’s not the only option. Other finishes, such as varnish and wax, each bring their own set of characteristics and benefits. Understanding the differences can help you make an informed decision tailored to your needs and preferences. Let’s compare these finishes and explore their unique qualities.
Lacquer: The Sleek and Durable Choice
Lacquer is renowned for its smooth, high-gloss finish, which can enhance the natural beauty of wood with a striking sheen. It’s a versatile option that can be adjusted to achieve various levels of gloss, from satin to high gloss, depending on your aesthetic preference. One of the standout features of lacquer is its durability. It forms a hard, protective layer that is resistant to scratches, stains, and moisture, making it ideal for high-traffic areas or homes with children and pets.
The quick-drying nature of lacquer is another advantage. It allows for multiple coats to be applied in a shorter timeframe, speeding up the project. However, lacquer can be more challenging to apply due to its fast drying time, which requires a steady hand and careful technique to avoid brush marks or overlaps. It’s also worth noting that lacquer, particularly the oil-based variety, can emit strong fumes during application, so proper ventilation is crucial.
Varnish: The Versatile Protector
Varnish offers a similar protective quality to lacquer but with a slightly different aesthetic. It can range from a clear, glossy finish to a more matte appearance, depending on the type used. Varnish penetrates deeper into the wood, providing a robust layer of protection that is highly resistant to water and UV damage. This makes it an excellent choice for floors exposed to sunlight or moisture, such as in conservatories or near entrances.
One of the key benefits of varnish is its flexibility. It expands and contracts with the wood, reducing the likelihood of cracking or peeling over time. However, it generally has a longer drying time than lacquer, requiring more patience during the application process. Like lacquer, varnish can produce strong odours, so adequate ventilation is important.
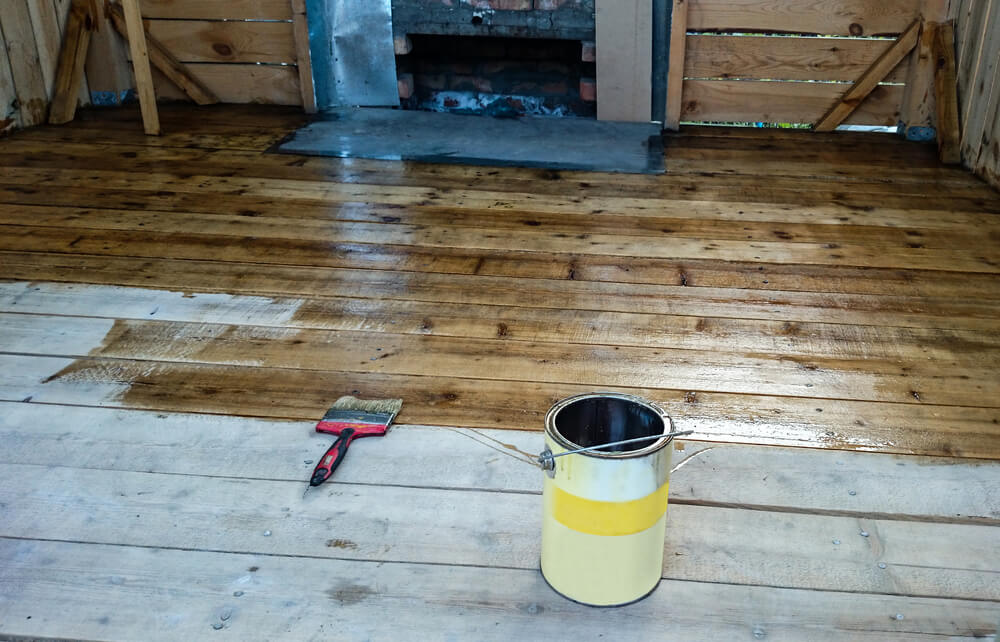
Wax: The Natural and Traditional Finish
Wax is a classic, traditional finish that offers a warm, natural look. It enhances the wood’s natural grain and texture, providing a subtle sheen rather than a high-gloss finish. Wax is ideal for those who prefer a more understated, rustic appearance. It can also be reapplied easily, making it a convenient option for those who like to refresh their floors regularly.
However, wax is less durable than lacquer or varnish. It provides some protection against moisture and scratches, but it requires more frequent maintenance. Waxed floors can be prone to showing scuffs and marks, and they may need reapplication every few months, especially in high-traffic areas. Additionally, wax can be slippery, so it may not be the best choice for households with children or elderly residents.
Making the Right Choice for Your Home
Ultimately, the choice between lacquer, varnish, and wax comes down to your specific needs and aesthetic preferences. If you’re looking for a durable, glossy finish that stands up well to wear and tear, lacquer is an excellent option. For a versatile, water-resistant finish with a range of gloss levels, varnish may be the best fit. And if you prefer a natural, warm look with a traditional feel, wax could be the ideal choice.
Consider the level of maintenance you’re willing to commit to, the environment in which the floor will be used, and the overall style you’re aiming for. By weighing the pros and cons of each finish, you can choose the one that best complements your lifestyle and enhances the beauty of your wooden floors. Whatever your choice, a well-applied finish will not only protect your floors but also elevate the entire look and feel of your home, making it a space you love to live in.
Expert Tips for a Professional Finish
Achieving a professional-quality finish on your lacquered wooden floors is a blend of technique, attention to detail, and a few insider tricks. While the basics of lacquering are straightforward, the difference between a good finish and a truly stunning one often lies in the finer points. Let’s delve into some expert tips that can help you elevate your lacquering project to the next level, ensuring your floors not only look beautiful but also stand the test of time.
Insider Secrets from Flooring Experts
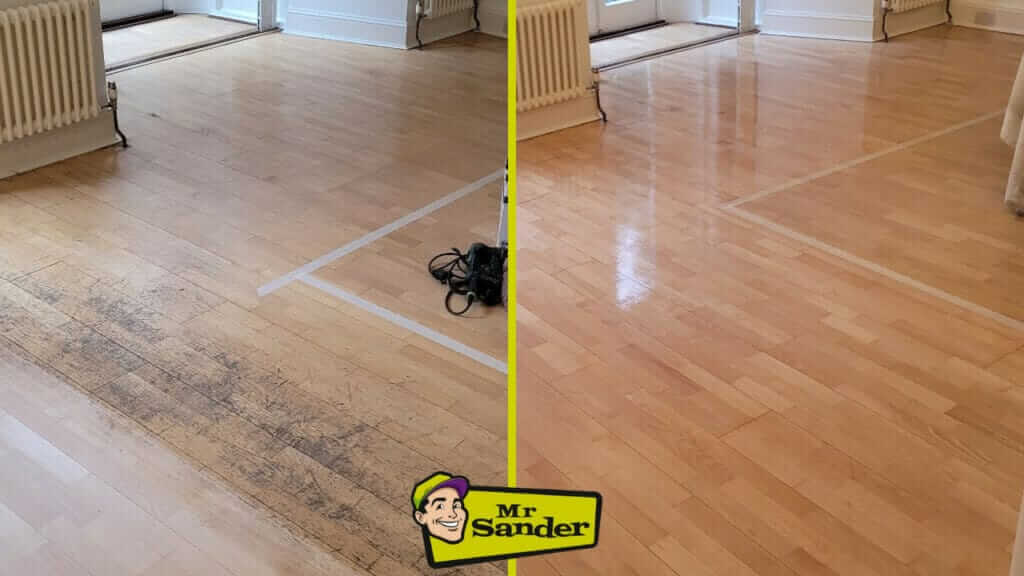
First and foremost, preparation is paramount. As the experts always say, a perfect finish starts with a perfect base. Before applying lacquer, ensure your floor is impeccably clean and free from any imperfections. This means thorough sanding, vacuuming, and wiping down with a tack cloth to remove even the finest dust particles. Any debris left behind can mar the smoothness of the lacquer and leave you with a less-than-ideal finish.
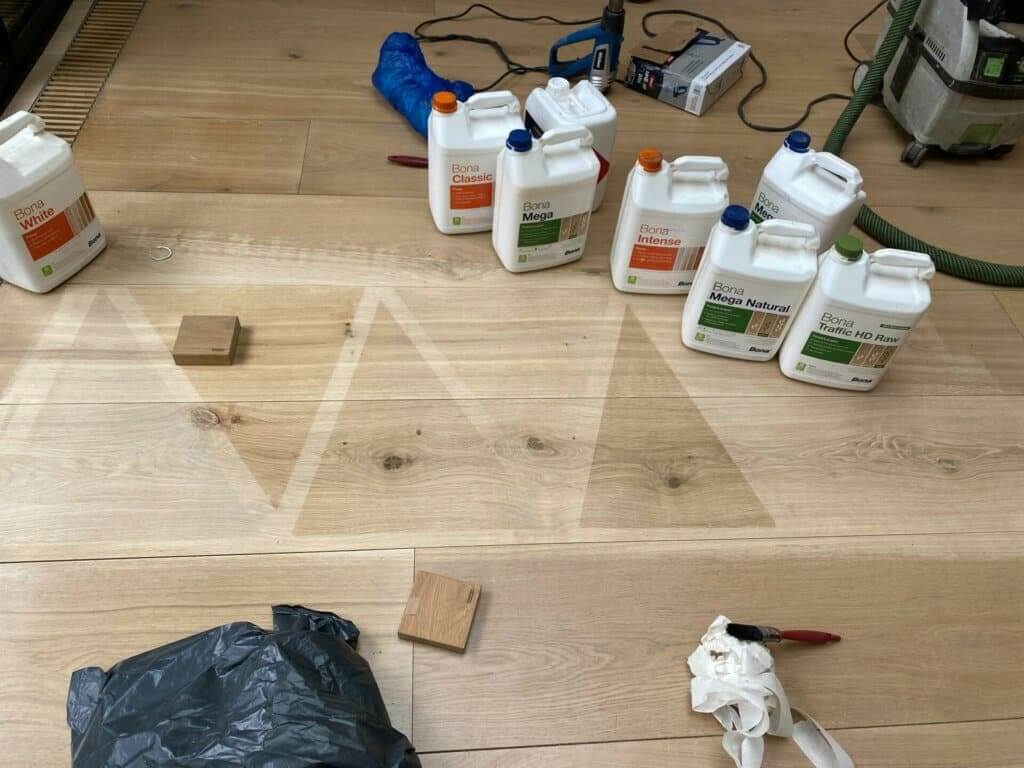
Another expert tip is to always test your lacquer on a small, inconspicuous area of the floor before committing to the entire space. This allows you to check for any adverse reactions, such as unexpected colour changes or adhesion issues. It also gives you a chance to practice your application technique and adjust as needed.
Advanced Techniques for a Perfect Gloss
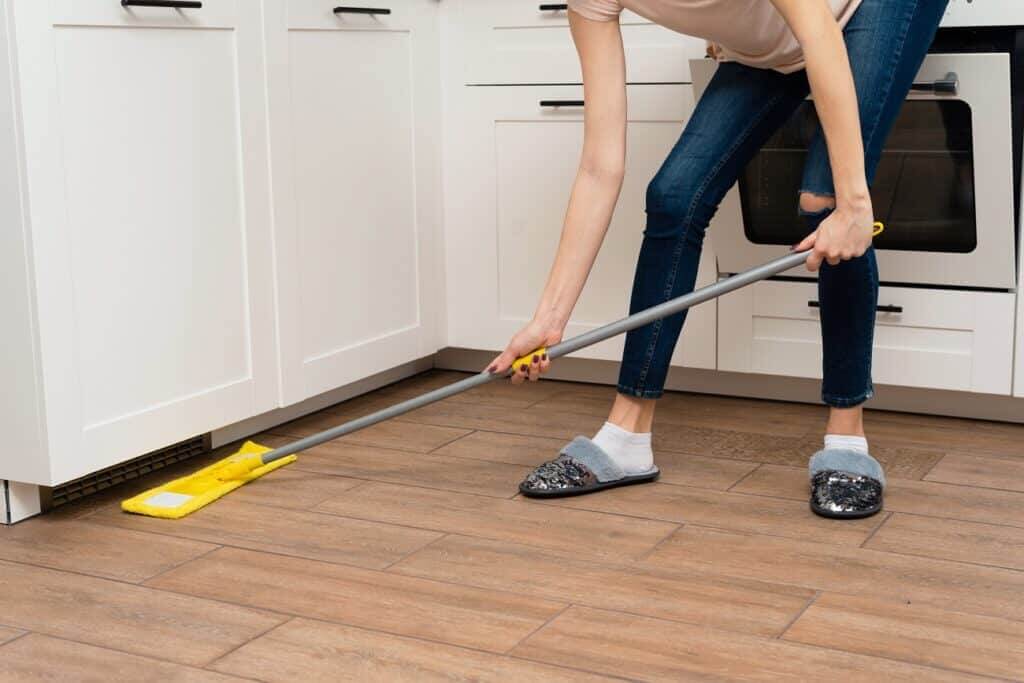
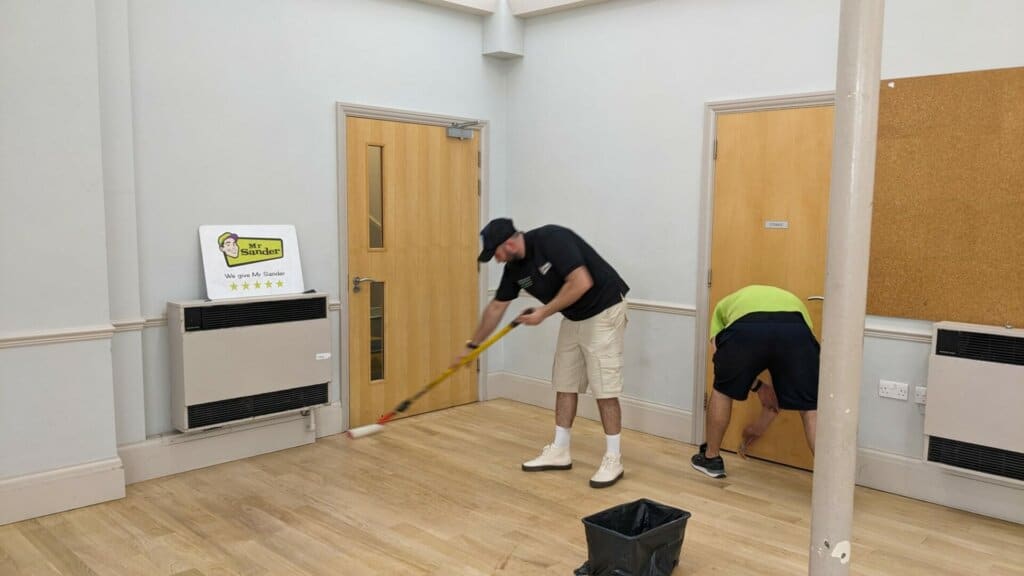
When it comes to applying lacquer, the tool you use can make a significant difference. For large, open areas, a high-quality foam roller is often recommended. Foam rollers provide an even application and help to minimise bubbles and streaks. However, for intricate areas and edges, a fine-bristle brush is essential. A tip from the pros: keep a wet edge while applying the lacquer. This means working quickly enough to blend each stroke with the previous one before it dries, avoiding visible lines and ensuring a uniform finish.
Temperature and humidity control is another advanced consideration. Lacquer can behave differently depending on environmental conditions. Ideally, you want to work in a moderate temperature range, avoiding extreme heat or cold. High humidity can slow down drying times and lead to a cloudy finish, so aim for a dry day if possible. If humidity is unavoidable, consider using a dehumidifier to keep the environment stable.
The Art of Sanding Between Coats
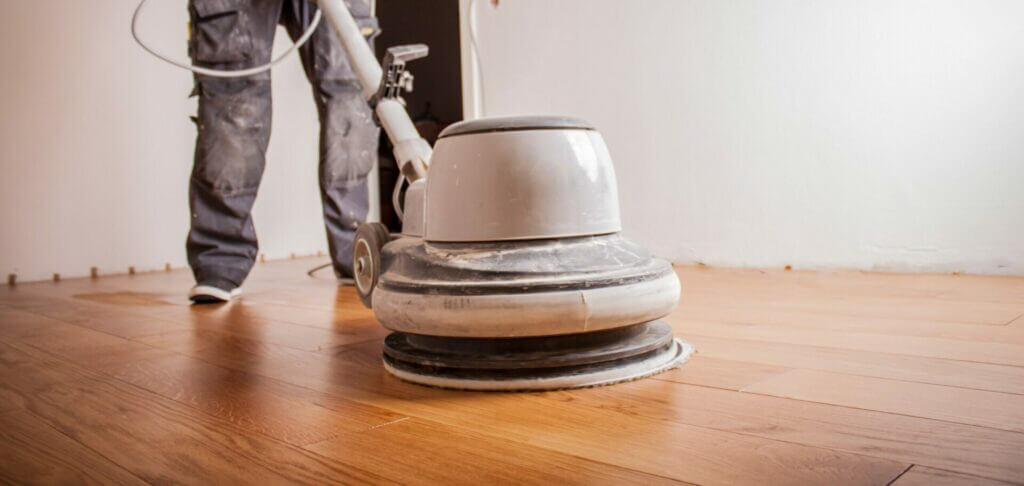
Sanding between coats might seem like an extra chore, but it’s a crucial step for achieving a glass-like finish. After each coat of lacquer has dried, lightly sand the surface with fine-grit sandpaper. This step smooths out any minor imperfections and helps the next coat adhere better. Use a light touch—you’re not stripping the lacquer, just providing a slightly rough surface for the next layer.
Always clean thoroughly after sanding. Even the finest dust particles can become trapped in the lacquer and cause a gritty texture. Vacuum the area and use a tack cloth to pick up any remaining dust.
Final Touches for a Flawless Finish
Once you’ve applied the final coat of lacquer, patience is key. Allow the lacquer to cure fully before using the floor. While it may feel dry to the touch within a few hours, the full curing process can take several days, depending on the type of lacquer and the environmental conditions. During this time, avoid walking on the floor or placing furniture back in the room. Rushing this final stage can result in dents, scratches, or a less durable finish.
For an extra touch of professionalism, consider buffing the floor once the lacquer has fully cured. This step can enhance the shine and smoothness, giving your floors a truly polished look. Use a soft cloth or a buffing machine, and work gently to avoid damaging the finish.
Conclusion: Achieving a Perfectly Lacquered Floor
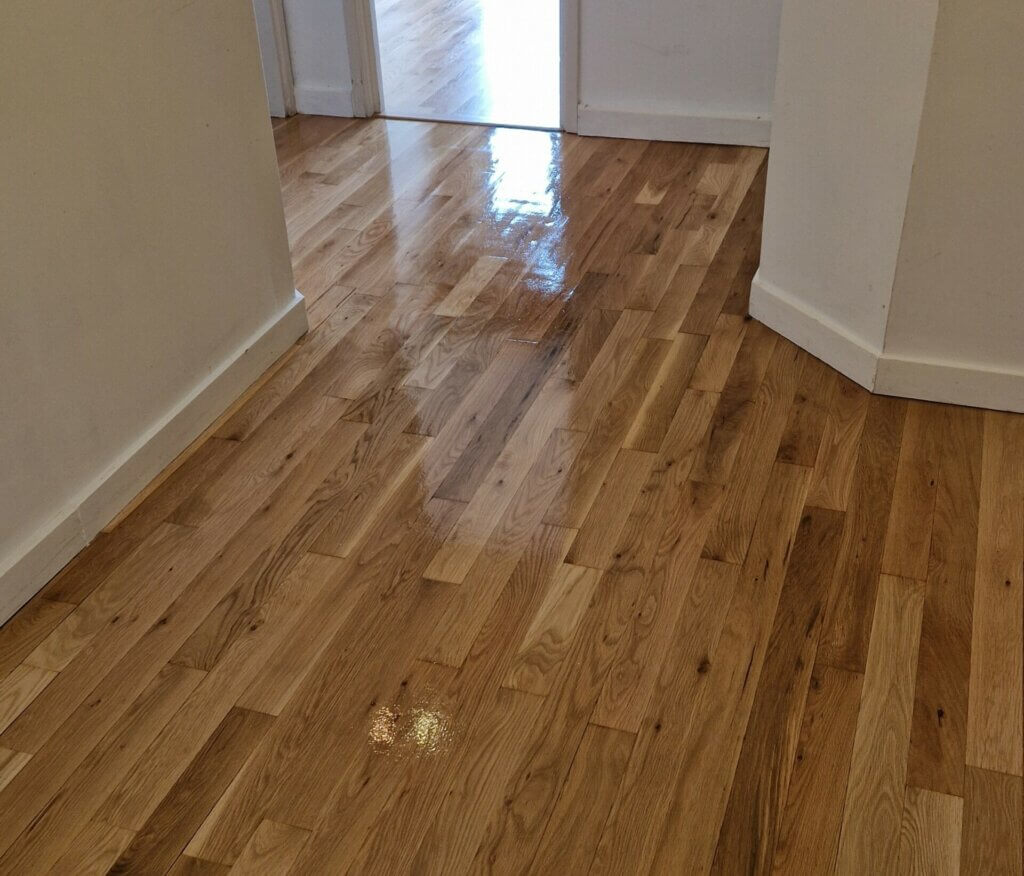
Lacquering wooden floors is a transformative process that goes beyond mere aesthetics; it’s about preserving and enhancing the natural beauty of the wood while providing a durable surface that can withstand the rigours of daily life. Throughout this guide, we’ve explored the intricacies of selecting the right type of lacquer, preparing your floor, and applying the lacquer with precision and care. These steps, while seemingly straightforward, are crucial in achieving a finish that not only looks stunning but also lasts for years to come.
The journey to a perfectly lacquered floor begins with understanding the unique characteristics of your wooden surface and choosing a lacquer that complements it. Whether you opt for a water-based lacquer with its clear, modern finish, or an oil-based option for a warm, classic look, your choice sets the tone for the entire project. Each type of lacquer brings its own set of benefits and challenges, and knowing these nuances allows you to make an informed decision that suits your home’s style and your personal preferences.
Preparation is the unsung hero of the lacquering process. A well-prepared floor, free of dust, dirt, and imperfections, provides the ideal canvas for a flawless finish. It’s a step that requires patience and attention to detail, from meticulous cleaning and sanding to filling in any gaps or cracks. This groundwork ensures that the lacquer adheres properly and results in a smooth, even surface. Skipping or rushing through these preparatory stages can lead to a host of issues, from uneven coverage to a finish that wears down prematurely.
Applying the lacquer is where the transformation truly begins. It’s an art that demands a steady hand and a keen eye for detail. Whether you’re using a brush, roller, or a combination of both, the technique and care you employ will significantly impact the final outcome. Thin, even coats are key to avoiding drips and achieving a uniform finish. Sanding between coats, although time-consuming, is essential for removing any minor imperfections and ensuring that each layer bonds well with the previous one.
Maintaining your lacquered floor is the final piece of the puzzle. Proper care and regular upkeep can extend the life of your finish and keep your floors looking as beautiful as the day they were completed. This includes regular cleaning, protecting the floor from scratches and moisture, and knowing when it’s time to refresh the lacquer. A well-maintained floor not only enhances the aesthetic appeal of your home but also protects your investment, adding value and comfort to your living space.
In the end, achieving a perfectly lacquered floor is a rewarding experience that combines skill, knowledge, and a touch of artistry. It’s about more than just following steps; it’s about understanding the materials, respecting the craft, and taking pride in your work. With the right approach and a commitment to quality, you can create a floor that not only meets but exceeds your expectations. A beautifully lacquered floor is more than just a surface to walk on—it’s a statement of elegance, a testament to craftsmanship, and a joy to behold every day.