How to Avoid Swirl Marks After Hardwood Floor Polishing — The Honest Guide from Mr Sander®
Straight answer: Swirl marks almost always come down to the same handful of mistakes — the wrong pad, a dirty pad, the wrong product, a floor that hasn’t been properly cleaned first, or poor buffer technique. To avoid them, prep the floor properly, use a clean soft polishing pad with the right product, keep the machine moving in steady overlapping passes, and inspect with strong side-light as you go. After 31 years on the tools and over 25,000 floors restored, we’ve seen every swirl mark going — and the prevention is genuinely simpler than most people realise.
Key Takeaways
- Swirl marks are almost always caused by grit under the pad, a worn or contaminated pad, poor technique, or rushing the job.
- Proper cleaning before you start is the single biggest factor — fine dust and grit are the silent culprit on most jobs.
- The right pad and the right polish for a sealed wood floor matter enormously.
- Keep the buffer moving with light, even pressure and consistent overlapping passes.
- Inspect under strong directional lighting throughout the job, not at the end.
What Swirl Marks Actually Are (And Why They Show Up)
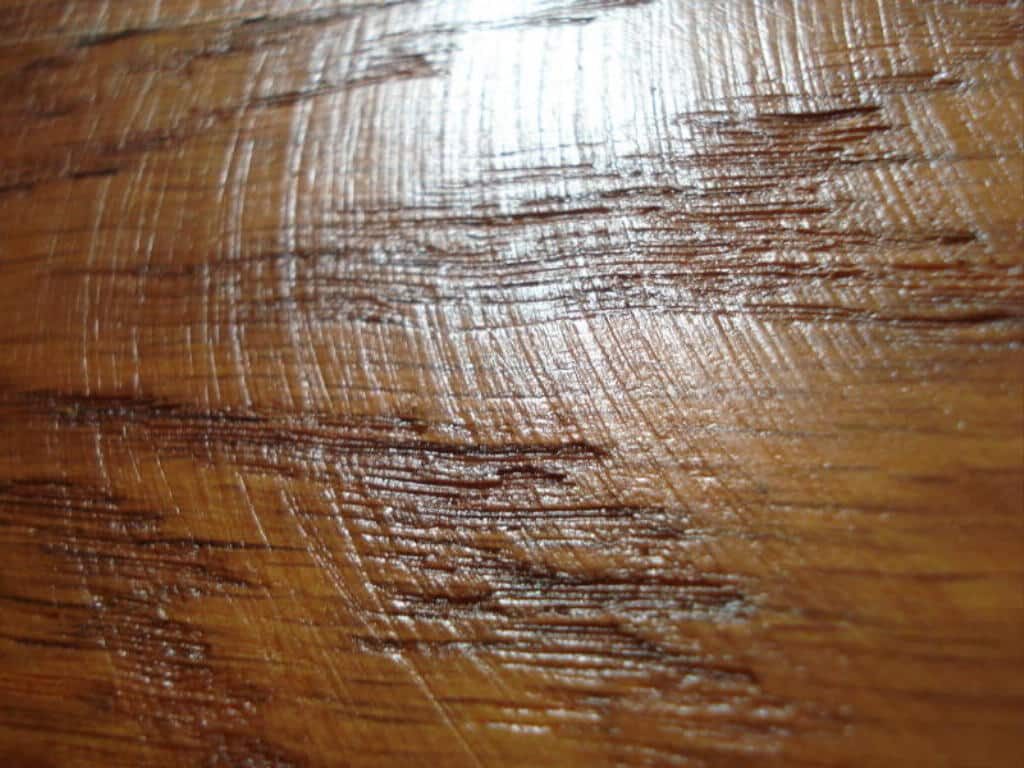
Swirl marks — sometimes called buffer marks or halos — are circular abrasion patterns left in the surface of the finish when a floor buffer leaves uneven contact across the timber. They don’t usually damage the wood itself, but they make the finish look patchy, dull or “cloudy” under certain lighting — and on premium hardwood floors in London period properties (Victorian pine, Edwardian oak, parquet across Fulham, Chelsea and Mayfair), they’re particularly unforgiving in natural daylight.
Step-by-Step: How to Prevent Swirl Marks When Polishing
Step 1: Prepare the Floor Properly — Honestly, Don’t Skip This
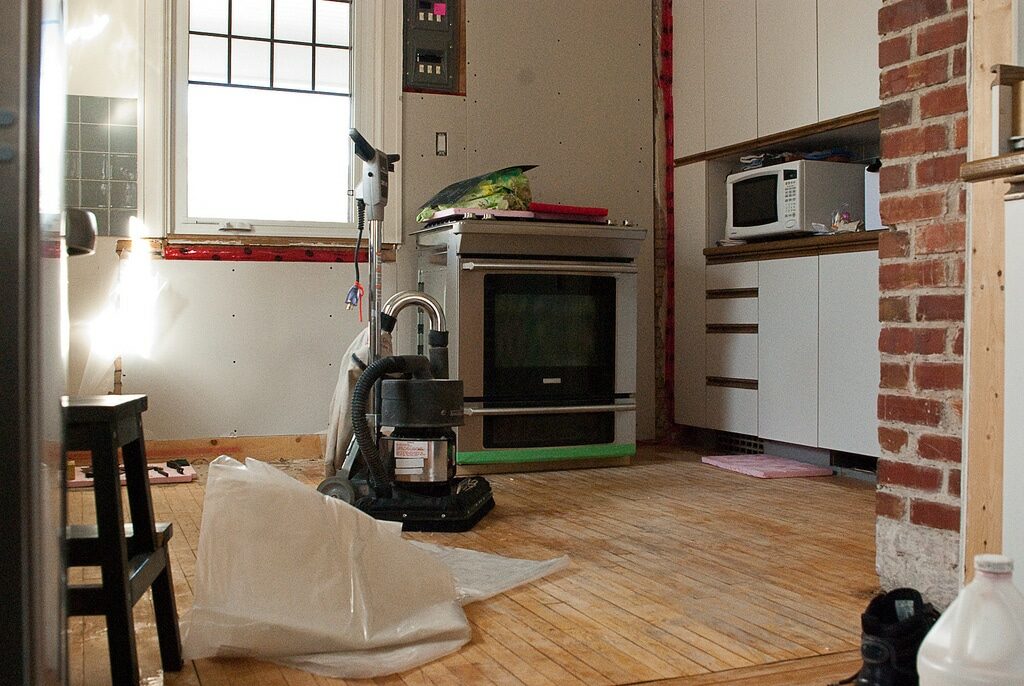
Before you go anywhere near the buffer, every speck of dust and grit needs to be off the floor. Even tiny debris caught under the pad creates instant swirl marks — and once they’re in, the only fix is more work to take them back out.
- Sweep thoroughly first, then hoover every inch — including edges, corners and under skirting overhangs.
- Follow up with a microfibre mop to lift the fine dust, especially if the room has been recently sanded.
- Make sure the floor is completely dry before any polishing starts.
Step 2: Use the Right Buffer Pad — And Keep It Clean
Pad choice is genuinely where most DIY swirl marks start. A worn, contaminated, or simply wrong pad will leave marks instantly, no matter how careful your technique is.
- Use a soft polishing pad designed for polishing — not a sanding screen.
- Change pads the moment they start loading up with product or fine dust.
- Never reuse a pad with grit embedded in it — and inspect the underside before every pass.
Insider tip: If you’re polishing over a sealed lacquered floor, match the polish or maintenance product to the finish — Bona, Junckers and Osmo all make purpose-formulated products for hardwood floor finishes, and they’re not interchangeable. Read the manufacturer’s instructions properly and follow them.
Step 3: If the Floor Was Sanded, the Grit Sequence Matters Enormously
If you’re polishing after a sand, swirl marks often trace back to the sanding stage. Skip a grit, rush a stage, leave deeper scratches in the timber — and they’ll all come back to haunt you the moment the buffer hits the floor.
- Work through the full grit progression — typically 40, 60, 80, 120 — without skipping stages.
- Take proper care of the edges. Uneven edge work shows up brutally in reflected daylight.
- Finish sanding to a properly smooth surface before any polishing or buffing starts.
Step 4: Correct Buffer Technique — Where DIY Most Often Goes Wrong
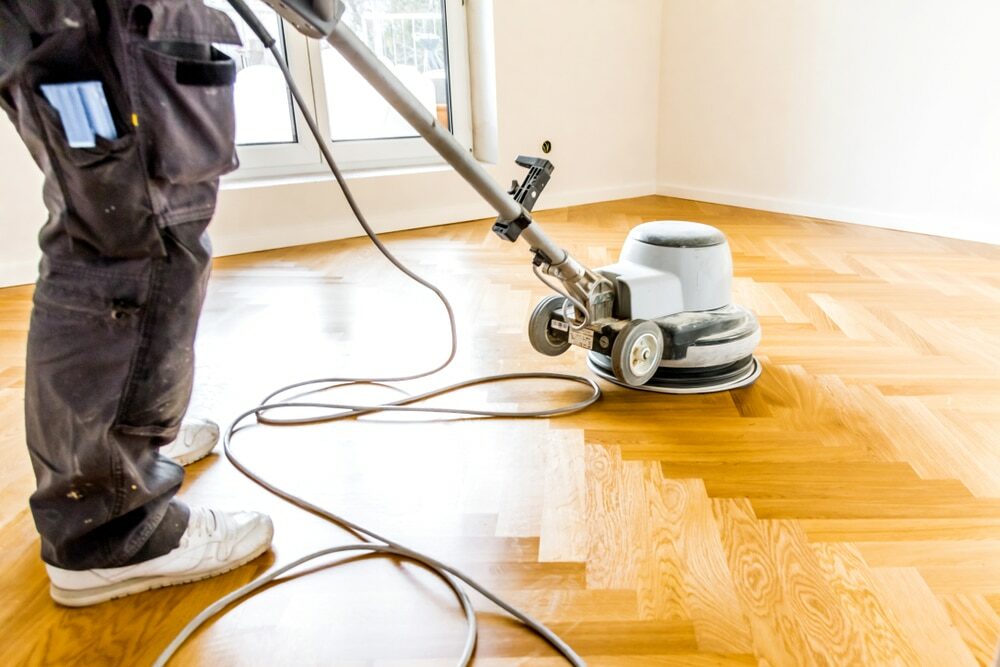
The single biggest polishing mistake we see — and we see it constantly — is leaving the buffer stationary or pressing too hard. The machine needs to stay in motion with steady, controlled passes and light, even pressure.
- Start the machine moving before you fully lower the pad to the floor.
- Keep light, even pressure throughout — let the machine and the polish do the work.
- Use overlapping passes (similar to how you’d mow a lawn) so no area is missed.
- Work with the grain where the floor allows, and keep every movement smooth and controlled.
Step 5: Inspect Under Strong Lighting — Fix Problems Straight Away
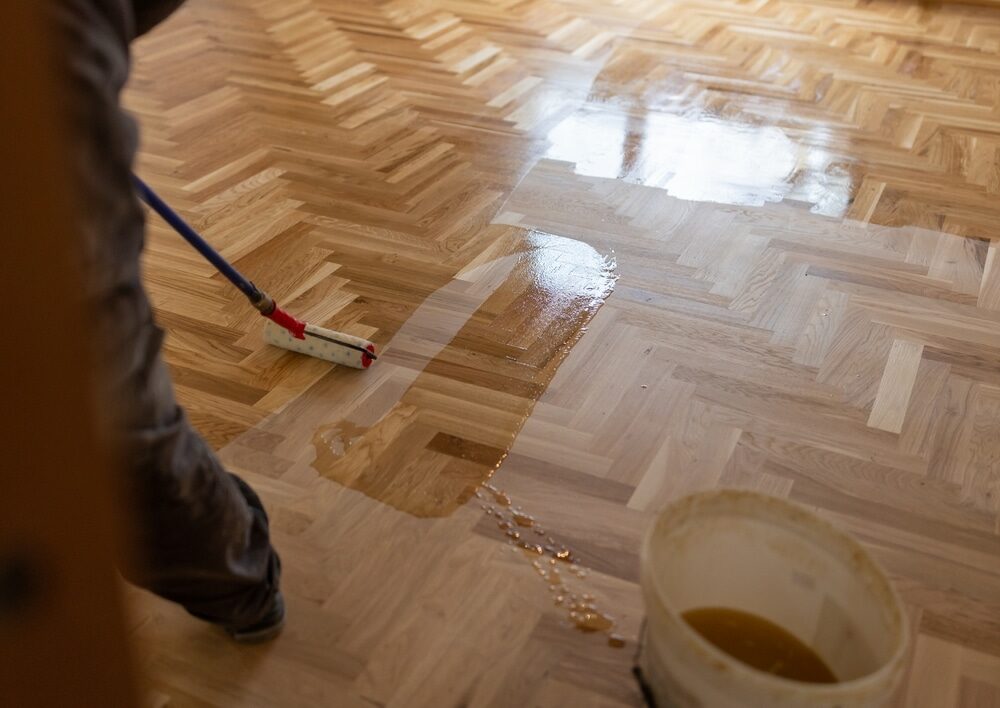
Swirl marks frequently hide under normal lighting and only show up under specific angles. Use a strong directional light source (a work lamp or torch held low at an angle) and inspect the floor every few minutes — not just at the end.
- Check the floor regularly from several different angles, with directional light.
- If you spot swirls forming, stop immediately and correct the technique before going further.
- For minor swirls, lightly abrade the affected area with a fine pad and re-polish evenly.
Common Mistakes (And Honest Ways to Avoid Them)
- Polishing over dust: Always hoover and dust-wipe thoroughly first — no shortcuts.
- Using a worn or dirty pad: Replace pads early. Saving on pads costs more in the long run.
- Over-applying product: Too much polish causes smearing and uneven patches — less is genuinely more.
- Stopping in one place: Keep the machine in steady motion at all times.
- Rushing the job: Slow, consistent passes look vastly better than trying to power through.
- Skipping the lighting checks: By the time you notice swirls at the end, you’ve made more work for yourself.
Costs & Timeframes — Honest UK Guide
Prices and timings depend on floor size, condition, access, and whether the floor needs a light buff and recoat or a proper full sand and refinish. Here’s a realistic range based on what we genuinely quote across London:
- Light polish, buff and recoat: typically £15–£30 per m²
- Full sanding and sealing: typically £25–£45 per m²
- Timeframe: most domestic rooms can be completed in 1 working day, with larger areas or significant repair work taking longer
- Drying and curing: varies with finish — water-based lacquers are touch-dry within hours, with full hardness typically reached at 5–7 days
Insider tip: If you’ve only got swirl marks in one or two areas, a localised buff-and-recoat may be all you need. If the floor has deeper underlying scratches, uneven sanding marks, or a failing finish, a full wood floor restoration is the genuinely sensible long-term option. We’ll be honest at the survey stage about which approach actually suits your floor.
Swirl Mark FAQs — Honest Answers from Mr Sander®
Can swirl marks be removed without sanding the entire floor?
Often yes — if the swirls sit in the finish layer only. A proper light sanding (screen-and-recoat) followed by a fresh top coat usually clears them up at a fraction of the cost of a full re-sand. If the swirls trace back to deeper scratches underneath the finish, a full sand is the genuine answer.
How long does it take to polish a wooden floor properly?
For a typical domestic room of around 15–25 sq metres, a proper polish job is usually completed in a few hours — but preparation, careful technique and lighting checks throughout are what separate a professional result from a DIY one. Rushing this job is honestly the most common cause of swirl marks we get called out to fix.
Which pad should I actually use to avoid swirl marks?
A clean, soft polishing pad designed specifically for hardwood finishes. Avoid aggressive abrasive pads unless you genuinely need surface abrasion and you’re certain the finish can handle it. When in doubt, the manufacturer’s recommendation for your specific polish or maintenance product is the right call.
What causes swirl marks even when I think I’m being careful?
Honestly, in 90% of the cases we get called to fix, the hidden cause is fine grit or dust trapped under the pad — or a pad that’s been reused and is now contaminated. Both are invisible until the buffer hits the floor, by which point the damage is done.
Should I polish with the wood grain?
Where possible, yes. But smooth controlled movement and consistent overlapping passes matter more than slavishly following the grain direction — particularly on parquet or herringbone where grain runs in multiple directions across the same room.
Is it worth polishing an old floor instead of a full sand?
Depends entirely on the floor. If the existing finish is mostly intact and the underlying timber is sound, a polish and recoat properly revives the shine and extends the life of the finish for years. If the finish is worn through to bare timber or the floor has deep scratches and damage, a full sand is the honest answer — anything else is just papering over the problem.
Can the wrong polish actually cause swirl marks?
Yes — and this is a more common cause than people realise. Using a product not designed for hardwood floor finishes (general-purpose polishes, household waxes, or incompatible brands) leaves uneven residue, patchy build-up and swirl-like marks that won’t buff out properly. Stick to manufacturer-matched products from Bona, Junckers or Osmo.
What if swirl marks only show up in sunlight?
That’s genuinely very common — and it’s why we always carry a strong directional work lamp for proper inspection. Strong side-light highlights surface texture that overhead lighting hides. A professional re-polish with correct technique under proper lighting nearly always sorts it out properly.
Can I prevent swirl marks on parquet floors?
Yes — but parquet needs extra care because the grain runs in multiple directions across each block. Use a softer pad, lighter pressure, and proper overlapping passes rather than trying to follow one grain direction. Our specialist parquet flooring restoration service covers the wider job if your parquet needs a proper restoration rather than just a polish.
Trust & Proof — Why Choose Mr Sander®
Trading since 1994, Mr Sander® has been restoring and polishing wooden floors across London and the wider UK for over 31 years. With more than 25,000 floors restored, over 1,000 verified 5-star reviews averaging 4.8/5, fully trained DBS-vetted technicians, full £5 million public liability insurance, our 5-year written workmanship guarantee, and memberships of the NWFA, FSB and Guild of Master Craftsmen, we know exactly how to deliver a clean, swirl-free finish that looks the part in real daylight — not just in marketing photos.
Ready for a Properly Swirl-Free Finish?
If you’d like a properly polished floor without the stress and uncertainty of DIY, we’re happy to come and have a look. We’ll honestly tell you whether your floor needs a quick refresh, a screen-and-recoat, or a full sand and refinish — and we’ll recommend the right finish for how your home is actually used.
Book a free site survey: Get in touch on 020 7381 9408 and we’ll arrange a convenient time, no obligation.
Related Reading
- Related: [Floor Sanding Cost Guide]
- Related: [Parquet Restoration]
- Related: [Best Floor Finish for Pets & Kids]
“`