How to Pick the Perfect Light‑Fast Wood Stain for Your Period Home
Picture this: it’s a bright Saturday morning, the sun pours through your sash windows, and instead of admiring the 200‑year‑old oak boards underfoot, you’re wincing at blotchy marks where last year’s bargain stain has faded like a cheap postcard. Sound familiar? If so, pour yourself a cuppa and read on, because in the next ten minutes you’ll discover exactly how to choose a light‑fast Wood Stain that does justice to your period property—and keeps it that way for years.
In a hurry? Skip the pain and call 0800 955 8585 for a free consultation with Mr Sander®️. Our wood‑floor staining service is dust‑free, period‑sympathetic and guaranteed for colour‑fastness.

Table of Contents
Why Light‑Fastness Matters in a Period Property
Victorian pine, Georgian oak and Edwardian parquet share one weakness: ultraviolet light. Left unprotected, UV radiation breaks down the lignin in timber, bleaching out rich tones. Worse, it does so unevenly—leaving nasty zebra stripes wherever rugs once lay. A light‑fast Wood Stain contains UV blockers and high‑quality pigments that resist this photochemical assault. Choose well and the patina deepens gracefully; choose poorly and you’ll be sanding back to bare wood sooner than you’d like.

Understanding the Anatomy of a Quality Wood Stain
Pigments vs Dyes
Pigments sit on the surface, giving a dense, opaque colour; dyes soak into the fibres for a translucent, ‘see‑the‑grain’ effect. Many premium products blend the two for depth and durability. Ask your supplier—and insist on a technical data sheet.
Solvent vs Water‑Based
Solvent stains penetrate deeper, flash off quicker and tend to be tougher. Water‑based versions are low‑odour and eco‑friendly but may raise the grain. For listed buildings, we often recommend a modern hybrid that ticks every box.
The Role of UV Inhibitors
Think of these as SPF for timber. They intercept ultraviolet rays before the light can turn your mahogany a sickly yellow. No inhibitors, no longevity—simple as that.
Pro Tip
Always buy a stain that meets BS EN 927‑6 for artificial weathering. It’s the closest thing to scientific proof that your chosen colour will last.

Five Tests to Separate the Best from the Rest
- Accelerated Fade Test: Place a sample board in direct sunlight for two weeks. Good stains barely shift; cheap ones pale noticeably.
- Blot‑Blush Check: Apply a droplet of water after curing. If it beads, the stain’s binder is doing its job.
- Satin‑Sheet Rub: Rub with a white cloth—no colour transfer allowed.
- Scratch‑Resist Swipe: Lightly score with a fingernail. The surface should resist without flaking.
- Nose‑Knows Sniff: Excess solvent pong after 24 hours hints at poor formulation.
Rather not play chemist? Our professionally specified Wood Stain solutions pass every test—so you don’t have to.

Matching the Stain to Your Historic Floor
1. Oak Boards (17th–19th Century)
Oak loves warm, nutty tones—think Tudor brown or subtle smoke. Avoid anything too red; it clashes with natural tannins and can look ‘faux‑country’ in older homes.

2. Softwood Pine (Victorian Era)
Pine drinks stain like a sponge. Seal the grain first with a Wood Stain conditioner, then layer a gentle honey oak finish. Two coats, not one—consistency wins.

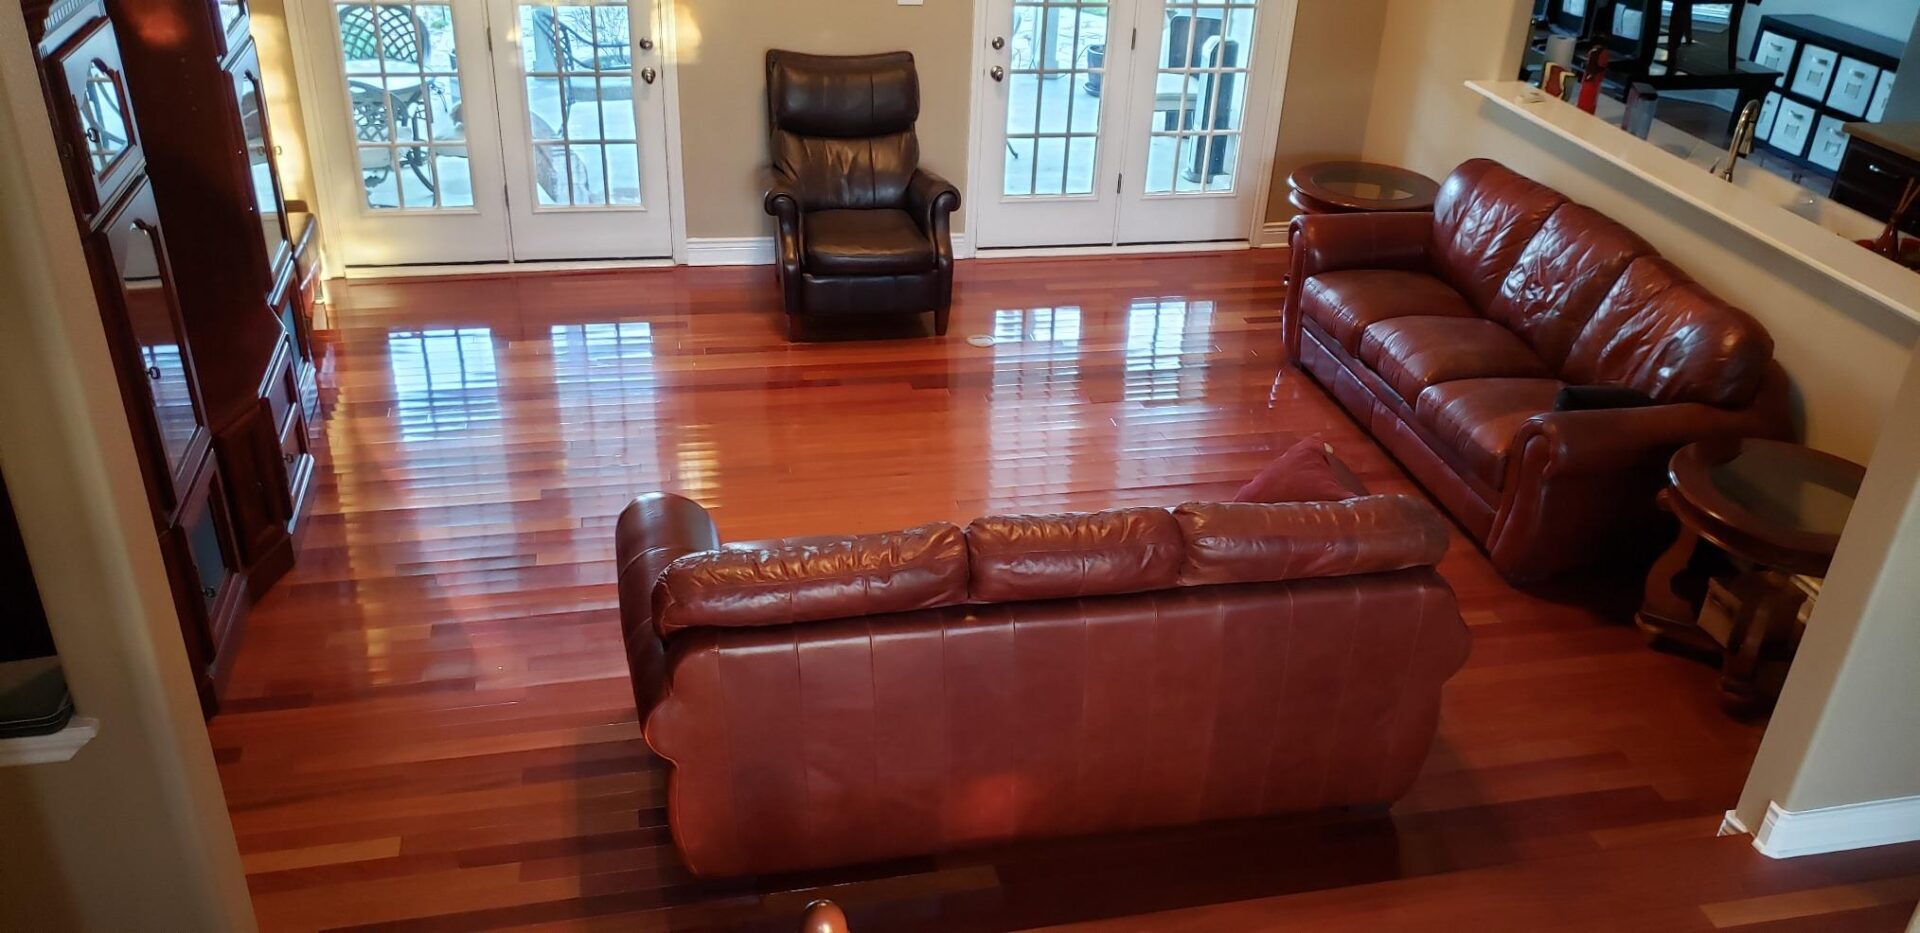
3. Cherry Hardwood Floor Stain (Art Deco)
Rosewood or teak parquet often needs little colour. Our advice? Use a clear light‑fast tint that amplifies grain without altering hue. If in doubt, request a test sample from Mr Sander®️.
The Colour Psychology of Heritage Interiors
| Colour Family | Emotional Impact | Best Room |
|---|---|---|
| Honey & Wheat | Warmth, familiarity | Kitchen & family rooms |
| Walnut & Coffee | Gravitas, scholarly calm | Libraries & studies |
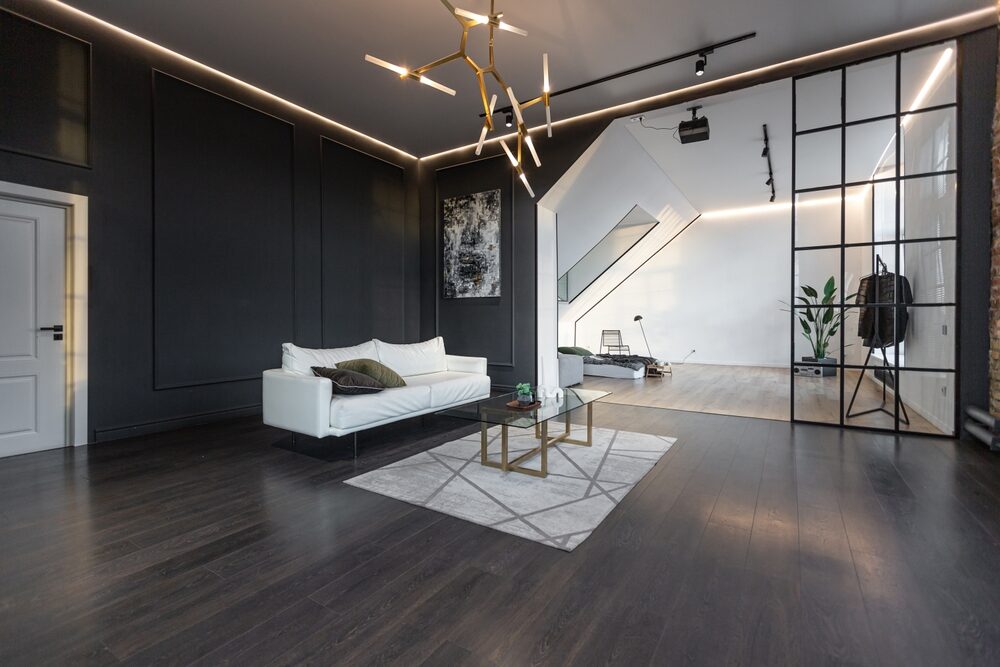
| Slate Grey Tints | Modern twist on tradition | Lofts & open‑plan |
| Classic Mahogany | Opulence, formality | Dining rooms |
Remember: colour isn’t just pretty; it sells houses. The right shade can add thousands to your property’s perceived value.
Step‑by‑Step Staining Plan for the DIY‑Minded
1. Preparing the Surface
- Sweep, vacuum, then sand through 40‑, 80‑ and 120‑grit—no shortcuts.
- Tack‑cloth off every speck. Dust under the skirting boards too—yes, really.
2. Choosing Application Tools
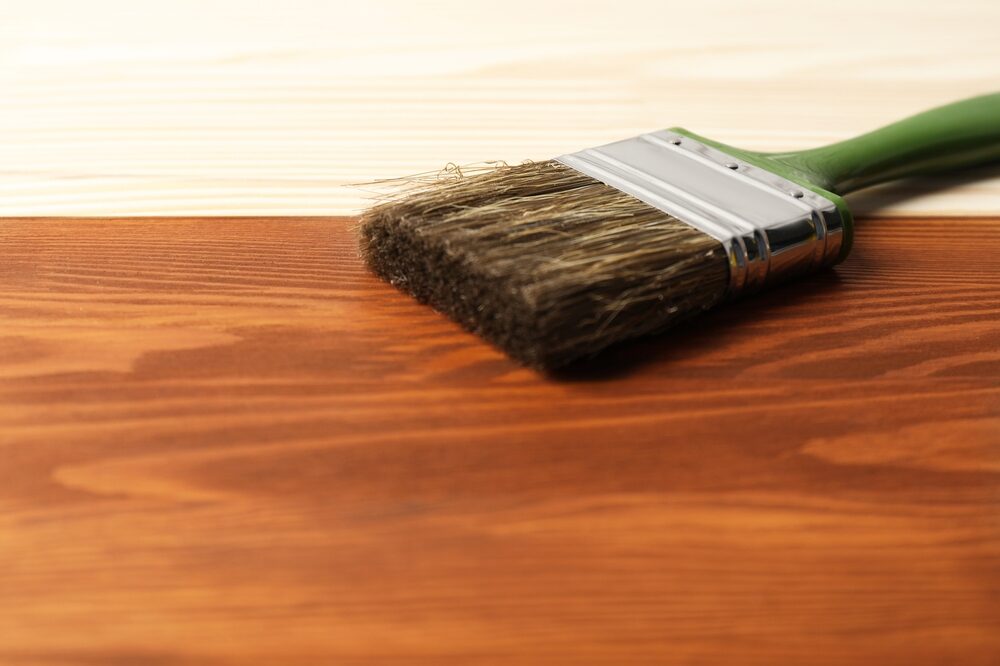
Foam pad for coverage, natural‑bristle brush for edges. Avoid rollers—they leave bubbles, which trap pigment and mar clarity.
3. First Coat
Work with the grain, section by section. Maintain a wet edge or you’ll get lap marks. Wipe excess within five minutes.
4. Drying & Curing Checklist
- Ventilate. Open windows but avoid direct draughts; airborne grit is a killer.
- Observe manufacturer’s cure time. If it says 24 hours, don’t move furniture in 23.
- Finish with a compatible UV‑blocking lacquer for belt‑and‑braces protection.
✔ Green‑Tick Shortcut
Want flawless results without the elbow grease? Book our Wood Floor Staining team. We prep, stain, seal and tidy up—usually within a single day.

Why Professional Application Delivers Better ROI
Here’s the maths:
- DIY materials: £180–£250 + your weekend (priceless?)
- Professional service: from £595—guaranteed, insured, zero hassle
Factor in potential re‑sand costs if a DIY job goes wrong and professional help becomes the cheaper option. Clients routinely tell us their floors still look fresh after eight‑plus years—that’s value.
Case Study: From Dull to Dazzling in a Georgian Drawing Room
Mrs Thompson’s 1820 terraced house in Bath had pine boards bleached almost white by decades of sunlight. We specified a custom mid‑oak Wood Stain with extra UV inhibitors, applied two coats, and sealed with a satin lacquer. Result? A warm, honeyed floor that harmonises with period cornices. Estate agents subsequently re‑valued the property at £15,000 more than before the makeover.
“It’s like stepping into a glossy interiors magazine. Worth every penny.” — Mrs Thompson

Frequently Asked Questions
Does a light‑fast stain make my floor maintenance‑free?
No stain is bullet‑proof. But a quality product plus annual polish can delay the next major re‑sand by up to a decade.
Will dark stains make my rooms look smaller?
Not necessarily. Pair deep walnut with pale walls and ample lighting for dramatic contrast without the cave effect.
Can I apply stain over an existing lacquer?
Afraid not. The lacquer acts like clingfilm. You must sand back to bare wood for proper penetration.
How soon can we walk on a newly stained floor?
Socks‑only after 24 hours, furniture after 48, rugs after seven days.

Ready to Transform Your Floors?
Call 0800 955 8585 today or book online with Mr Sander®️.
- ✔ Free, no‑obligation survey
- ✔ Period‑correct colour matching
- ✔ Dust‑free machinery for a spotless home
- ✔ Written warranty on colour‑fastness
Choose the Wood Stain experts who treat your heritage floors like museum pieces—because they are.